
Introduction to Banana Pudding Cheesecake Cones
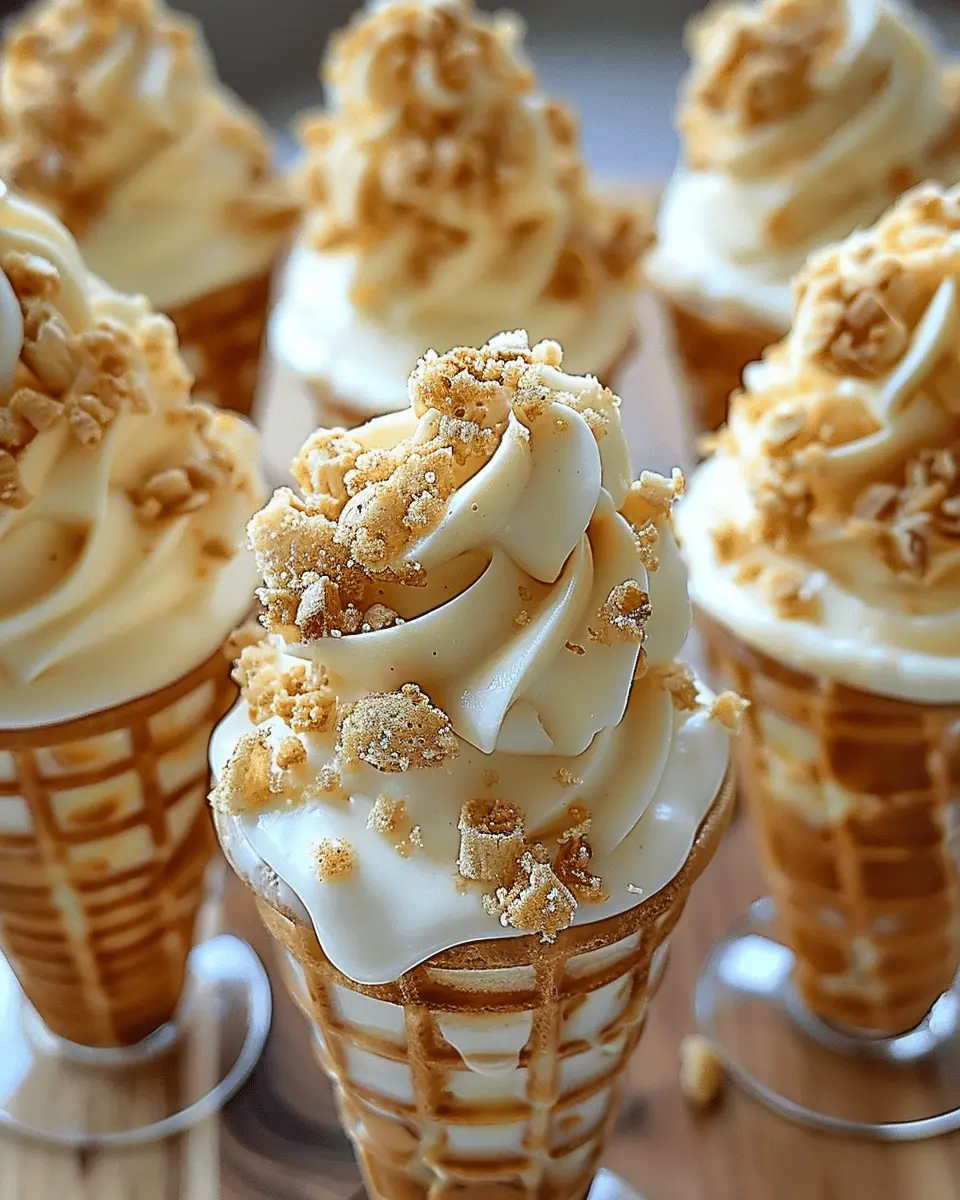
If you’re searching for a delightful dessert that combines the creamy richness of cheesecake with the nostalgic charm of banana pudding, then look no further! The banana pudding cheesecake cones are the perfect treat to impress your friends or simply indulge in during a cozy evening at home. But what makes these cones so special?
What makes banana pudding cheesecake cones special?
Imagine biting into a crunchy cone filled with a luscious layer of smooth cheesecake, infused with the familiar flavors of banana pudding. It’s a dessert that seamlessly unites two beloved classics, creating an experience that’s both fun and indulgent.
Here are just a few aspects that elevate this delightful dessert:
-
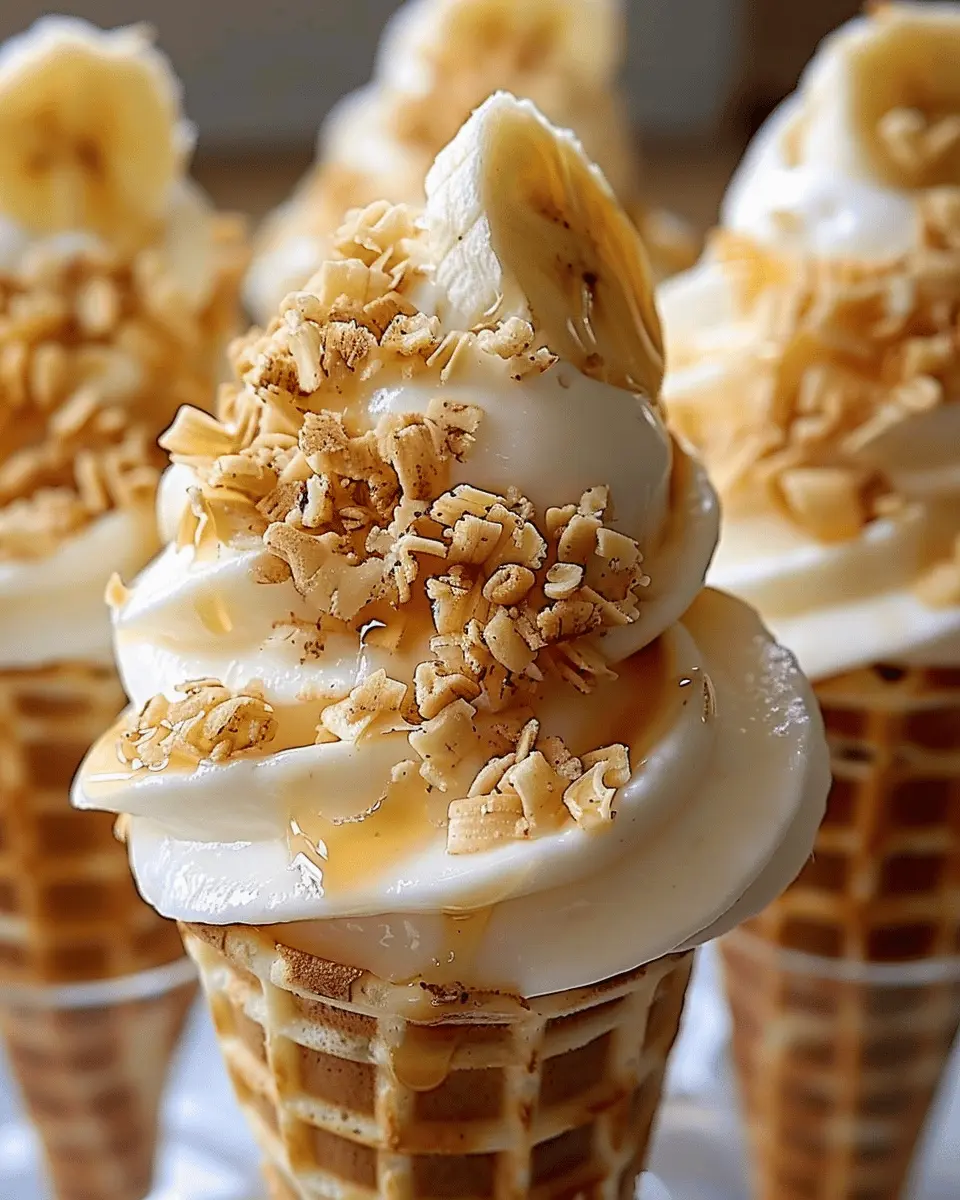
Texture Variety: Each bite offers a wonderful contrast between the crunchy cone and the creamy cheesecake filling. It creates a multi-dimensional eating experience that is sure to satisfy any sweet tooth.
-
Customizable Flavors: This banana pudding cheesecake cones recipe can easily be adapted! Feel free to add elements like crushed cookies, or even a sprinkle of cinnamon for that extra kick. The only limit is your imagination.
-
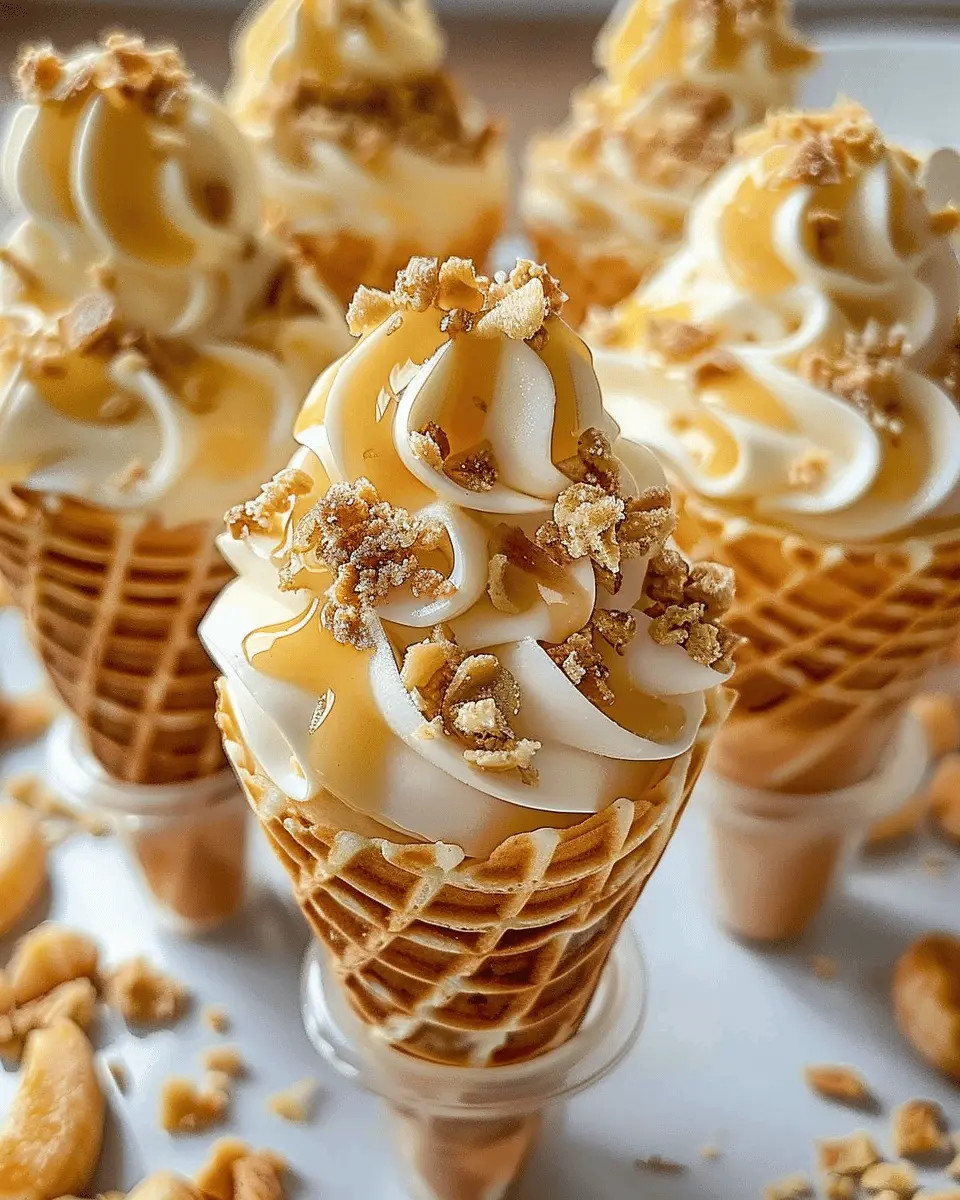
Portability and Presentation: These cones are perfect for gatherings. They’re easy to hold, making them a hit at picnics or parties. Plus, who wouldn’t love the charming visual of a cone overflowing with creamy goodness? Presenting desserts in unique ways can make a big difference in impressing your guests.
-
Nostalgia Factor: Both banana pudding and cheesecake are synonymous with comfort and childhood memories for many. Together, they create a fun twist that stirs up fond nostalgia while introducing a fresh take for the modern dessert lover.
Are you hesitant about baking? The* banana pudding cheesecake cones recipe* is straightforward, utilizing store-bought ingredients that make it easy for beginners and seasoned bakers alike.
For some additional insight on easy dessert preparations, I recommend checking out This article on baking basics for tips that can elevate your dessert game. So, gather your ingredients, and let’s bring the sweetness of these cones into your kitchen!
Ingredients for Banana Pudding Cheesecake Cones
Essential ingredients for the cheesecake filling
Creating banana pudding cheesecake cones starts with a rich and creamy cheesecake filling. You’ll need:
- 8 oz cream cheese, softened
- 1 cup powdered sugar
- 1 tsp vanilla extract
- 1 cup heavy whipping cream
- 2 large ripe bananas, mashed
- 1 cup banana pudding mix
These ingredients combine to form a luscious filling that perfectly balances sweetness and flavor, providing the cheesecake lovers with a delightful treat!
Necessary items for the cones
Now, let’s build the cones! You will need:
- Store-bought waffle cones or homemade cones for a personalized touch
- Fresh banana slices for layering
- Nilla wafers, crumbled, for that classic banana pudding vibe
Choosing the right cone can make all the difference, so consider your favorites!
Optional garnishes for a finishing touch
Give your banana pudding cheesecake cones recipe a stunning finish with these garnishes:
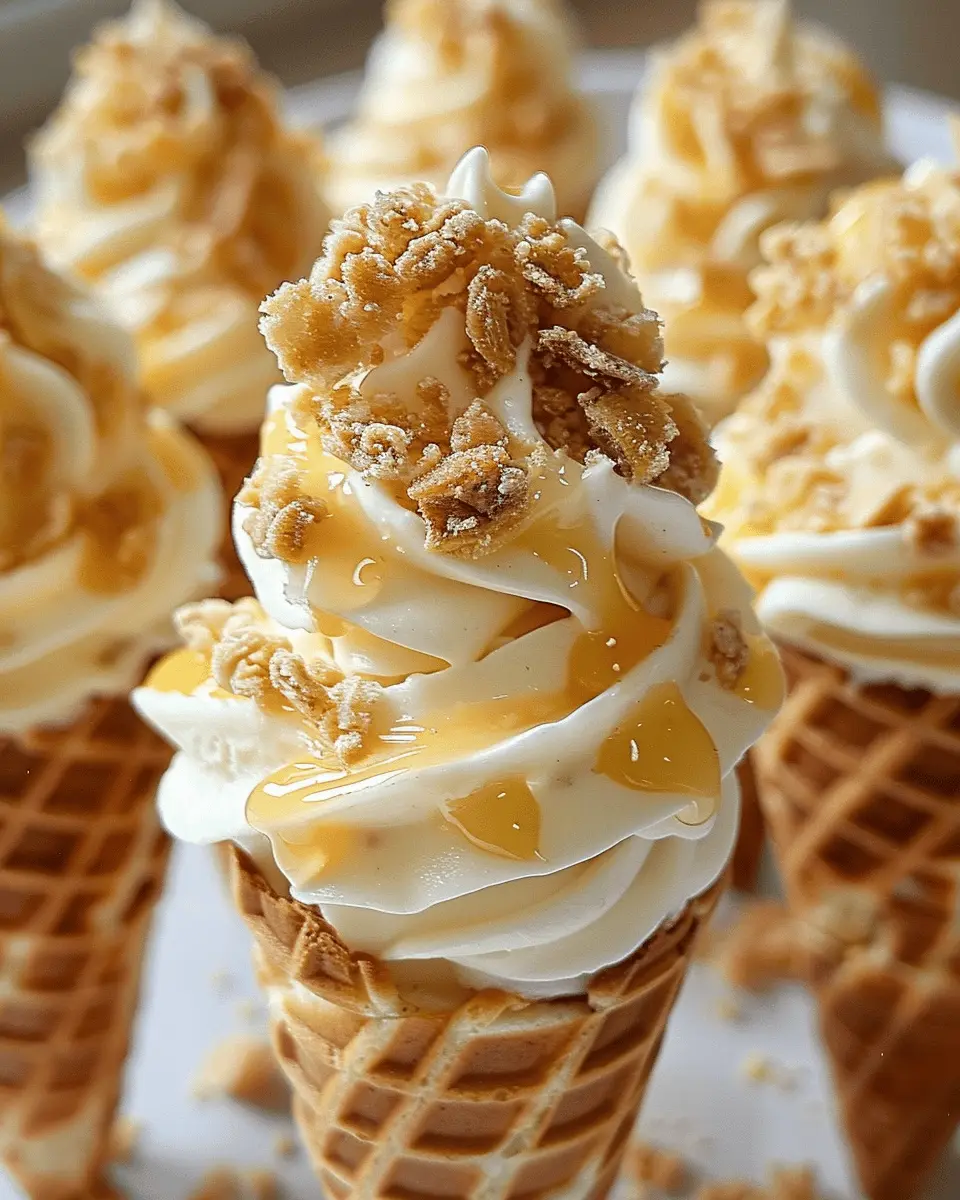
- Whipped cream dollops for that over-the-top flair
- Crushed graham crackers or cereal for added texture
- Drizzle of caramel sauce for extra sweetness
Feel free to get creative with your toppings—they’re your personal touch! Not only do these garnishes elevate the presentation, but they also enhance the flavor, making every bite more exciting.
Preparing Banana Pudding Cheesecake Cones
When it comes to treats that are as fun to make as they are to eat, the banana pudding cheesecake cones recipe tops the list. Not only do these cones pack a delightful punch of flavor, but they also bring a whimsical presentation to the table. If you’re ready to impress your friends or simply indulge in a sweet treat, follow this step-by-step guide to crafting your own banana pudding cheesecake cones.
Prepare the cheesecake filling
To begin your adventure, you need to whip up a creamy cheesecake filling. Here’s what you’ll need:
- 8 oz cream cheese, softened
- 1 cup powdered sugar
- 1 tsp vanilla extract
- 1 cup heavy whipping cream
Start by beating the softened cream cheese in a large mixing bowl until it’s nice and smooth. Gradually add in the powdered sugar, mixing thoroughly. Incorporate the vanilla extract to give your cheesecake that delicious flavor. Now, in a separate bowl, whip the heavy cream until it forms stiff peaks. This will help create that light and fluffy texture that makes cheesecake so irresistible. Fold the whipped cream gently into the cream cheese mixture until everything is well combined and creamy.
Make the banana pudding
Now it’s time to create the rich banana pudding that will elevate your cones! You can choose to make your pudding from scratch or use instant pudding for convenience—the choice is yours!
If you’re opting for homemade, you’ll need:
- 2 ripe bananas, mashed
- 2 cups milk
- 1/2 cup granulated sugar
- 1/4 cup cornstarch
- 1 tsp vanilla extract
In a saucepan, combine the mashed bananas, milk, sugar, and cornstarch. Heat the mixture over medium heat while stirring continuously until it thickens, which usually takes around 5-10 minutes. Remove it from the heat and stir in the vanilla extract. Let it cool for a few minutes before using.
Whip and combine the mixtures
Once both the cheesecake filling and banana pudding are ready, it’s time to bring them together. Take your chilled pudding and fold it into the cheesecake filling carefully. This is where the magic happens—mixing brings out the creamy, rich flavors and achieves that perfect harmony of banana and cheesecake.
Prepare the cones
It’s time to think about the cones. You can go with classic ice cream cones, which add a fun crunch, or try waffle cones for a little more flavor. If you’re really adventurous, consider making homemade cones!
To prepare, just make sure they are clean and crisp. You can even dip the edges in melted chocolate and let them cool for an extra touch of indulgence. Not only does this provide a delightful taste, but it also adds a scenic touch when serving.
Fill the cones
The moment of filling these beauties has arrived! Using a piping bag or a spoon, fill each cone with the banana pudding cheesecake mixture. Make sure to pack it in there, but don’t overfill them or you might end up with a delightful mess.
If you’re feeling extra creative, try layering the filling for visual appeal. It’s all about presentation, right?
Add garnishes and serve
Now comes the fun part—garnishing! Slice up some fresh bananas, crumble a few vanilla wafers, or add a dollop of whipped cream on top. These simple garnishes not only look fantastic, but they also provide that extra crunch or creaminess with each bite.
To serve, you can stand your cones in a glass or a cone holder for a decorative touch. The visual presentation is just as important as the taste, so make sure they look as delightful as they taste!
And just like that, you’re ready to savor your homemade banana pudding cheesecake cones. With every bite, you’ll taste all the hard work and love you poured into this fun dessert. Enjoy!
For more delightful sweet treats, check out related recipes like homemade ice cream or delicious no-bake pies to keep the good times rolling!
Variations on Banana Pudding Cheesecake Cones
Chocolate Banana Pudding Cheesecake Cones
If you’re a chocolate lover, then chocolate banana pudding cheesecake cones are an absolute must-try! Instead of regular vanilla wafers, think about using chocolate cookies or crushed brownie bits for the cone base. For the pudding layer, mix in some cocoa powder or dark chocolate chips to your banana pudding for that rich, chocolatey flavor. Top it all off with a drizzle of chocolate syrup and maybe even some shavings of dark chocolate for a decadent touch. Your dessert will go from delightful to divine in no time!
Gluten-Free Banana Pudding Cheesecake Cones
For those of you following a gluten-free diet, don’t miss out on this fantastic treat! Simply swap out the traditional cookie base for gluten-free graham crackers or a gluten-free cookie of your choice. Ensure that the banana pudding and cheesecake filling you select are also labeled gluten-free, as some store-bought options may contain gluten. If you’re feeling adventurous, you could even use almond flour to create a unique cone crust that adds a nutty flavor and chewy texture. These banana pudding cheesecake cones can be enjoyed by everyone without compromising on taste!
In both variations, you can play around with toppings. Think sliced fresh bananas, whipped cream, or even a sprinkle of nuts. The beauty of these cones lies in their versatility—there’s truly no limit to how you can make this dessert your own!
Additional Resources
For a deeper dive into alternative dessert options and tips, check out articles on gluten-free baking techniques or creative uses for chocolate to elevate your dessert game!
Tips and Notes for Banana Pudding Cheesecake Cones
Storage Tips for Leftovers
If you find yourself with extra banana pudding cheesecake cones, don’t worry! They can be stored in an airtight container in the fridge for up to three days. Just keep the cones and filling separate until you’re ready to enjoy them for the best crispiness. If you’re worried about soggy cones, try wrapping them in a paper towel before placing them in a container.
Making Ahead Suggestions
Want to impress your friends at tomorrow’s gathering? This banana pudding cheesecake cones recipe is perfect for making in advance. You can prepare the cheesecake filling and store it in the fridge for up to two days. Assemble the cones just before serving to maintain that delightful crunch. You might also consider prepping individual servings in cute mason jars if you’re short on time or presentation is your priority—who doesn’t love a charming dessert?
For tips on storage and presentation, check out the Food Network and Serious Eats for additional insights to make your dessert stand out!
Serving Suggestions for Banana Pudding Cheesecake Cones
Perfect occasions for serving
These delightful banana pudding cheesecake cones are perfect for a variety of occasions. Whether it’s a summer barbecue, a birthday party, or a casual get-together with friends, these cones are sure to impress. Imagine serving them up at a picnic in the park or at a cozy movie night at home. The combination of textures and flavors makes them a show-stopping dessert that appeals to both kids and adults alike.
If you’re hosting, consider a fun DIY dessert bar where guests can assemble their own cones. This creative twist adds an interactive element that guests love!
Ideal pairings with beverages
To elevate your banana pudding cheesecake cones recipe, consider pairing them with refreshing beverages. I recommend a chilled glass of iced tea or a fruity sparkling lemonade. For a cozy vibe, serve alongside a rich cup of coffee or hot chocolate. Not only do these beverages complement the sweetness of the cones, but they also create a well-rounded tasting experience.
For more beverage ideas, check out this resource from Epicurious that offers stunning drink pairings for desserts. Enjoy your culinary adventure!
Time Breakdown for Banana Pudding Cheesecake Cones
When you’re in the mood for a delicious treat that combines two beloved desserts, this banana pudding cheesecake cones recipe is a perfect choice. Here’s a quick rundown of the time you’ll need to whip these up!
Preparation time
You’ll need about 15 minutes to gather your ingredients and prepare your banana pudding and cheesecake mixture. If you prefer, you can even whip up the filling the night before to save time!
Assembly time
Putting the cones together is super quick. Expect to spend around 10 minutes assembling your banana pudding cheesecake cones. Just layer the cheesecake filling with banana slices in the cones, and you’re golden!
Total time
In total, you’re looking at approximately 25 minutes from start to finish. Perfect for a quick dessert when hosting friends or simply treating yourself on a cozy night in. For more tips on preparation, check out this article on efficient cooking techniques here.
Given this quick breakdown, you’ll find these cones not only delicious but also easy to make! Why wait? Your dessert dreams await!
Nutritional Facts for Banana Pudding Cheesecake Cones
When indulging in these delicious banana pudding cheesecake cones, it’s always good to keep an eye on the nutritional value. Here’s a quick rundown of what you can expect:
Calories
Each cone typically packs around 250-300 calories. This makes it a delightful treat that fits well into an enjoyable balanced diet.
Protein
These cones offer a decent protein boost, coming in at about 7 grams per serving, thanks to the cream cheese and any added Greek yogurt. Protein is essential for keeping you feeling full and energized throughout your busy day.
Sugar
With around 15-20 grams of sugar per cone, they do satisfy that sweet craving without going overboard. Opting for ripe bananas can enhance the natural sweetness while minimizing added sugars.
For a deeper dive into nutrition and healthy eating, you might find resources from the American Heart Association or Nutrition.org insightful!
Remember, moderation is key, and enjoying these cones every once in a while can definitely be part of a wholesome lifestyle.
FAQs about Banana Pudding Cheesecake Cones
Can I substitute ingredients for the cheesecake filling?
Absolutely! Our banana pudding cheesecake cones recipe is versatile. If you’re looking to tweak the filling, consider these substitutions:
- Cream Cheese: Use mascarpone cheese for a creamier texture.
- Sugar: Swap granulated sugar for coconut sugar or a sugar alternative like monk fruit sweetener.
- Bananas: Fresh bananas are best, but if they aren’t available, banana puree can work in a pinch. Just adjust the moisture level!
These simple swaps can also cater to dietary preferences, making your cones suitable for various palates.
How can I make the cones ahead of time?
Making the banana pudding cheesecake cones in advance can be a time-saver! Here are a few tips:
- Prep the Cheesecake Filling: Make it a day or two ahead and keep it in the refrigerator. Just remember to give it a good stir before piping into the cones.
- Store the Cones Separately: If you’re using store-bought cones, keep them in an airtight container to maintain their crispness.
- Assembly: Assemble the cones a few hours before serving. This way, they won’t get soggy, and you’ll impress your guests with that fresh crunch!
What are some alternatives to the cone for serving?
If you’d like to switch things up, consider these alternatives:
- Mini Cups: Use small dessert cups for a more elegant presentation. This works well if you want to layer the banana pudding cheesecake filling with wafers and sliced bananas.
- Fruit Bowls: Fill halved oranges or small pineapples for a colorful, tropical twist.
- Edible Bowls: Look for cookie bowls or make your own with phyllo dough for a sweet twist.
Experiment with your presentation to keep things interesting! And don’t forget, no matter how you serve them, the flavor will always shine through. Check out more tips on serving desserts here.
Conclusion on Banana Pudding Cheesecake Cones
Recap of the joy these cones bring
In conclusion, the banana pudding cheesecake cones recipe is more than just a dessert; it’s a delightful experience that brings a smile to every face. Imagine the sweetness of ripe bananas mingling with creamy cheesecake, all nestled in a crunchy cone—it’s the perfect treat for any gathering.
Hosting a party or just enjoying a cozy night in? These cones are a fun, easy way to impress your friends or simply treat yourself. Plus, they’re customizable! Feel free to add your favorite toppings like whipped cream or caramel drizzle. Remember, food is not just about taste; it’s about the memories we create. You can explore more delicious possibilities on sites like Epicurious and Food Network for inspiration. Happy baking!
PrintBanana Pudding Cheesecake Cones Recipe: An Easy Indulgence at Home

Enjoy the delicious combination of banana pudding and cheesecake in a fun and easy-to-eat cone. This recipe is perfect for any dessert lover looking to indulge at home.
- Prep Time: 15 minutes
- Total Time: 15 minutes
- Yield: 6 servings
- Category: Dessert
- Method: No-Bake
- Cuisine: American
- Diet: Vegetarian
Ingredients
- 2 ripe bananas
- 1 package (8 oz) cream cheese, softened
- 1 cup powdered sugar
- 1 cup heavy cream
- 1 teaspoon vanilla extract
- 6 sugar cones
- 1 cup vanilla wafer cookies, crushed
- 1 cup mini marshmallows
Instructions
- In a medium bowl, beat cream cheese until smooth.
- Add powdered sugar and vanilla extract, mixing until fully combined.
- In a separate bowl, whip heavy cream to stiff peaks and fold into the cream cheese mixture.
- Slice bananas and gently fold into the mixture.
- Place a layer of crushed vanilla wafers at the bottom of each cone.
- Fill each cone with the banana cheesecake mixture.
- Top with mini marshmallows and serve immediately.
Notes
- This recipe can be made a few hours in advance, but consume the cones within 24 hours for best texture.
- Feel free to add a drizzle of chocolate sauce on top for extra flavor!
Nutrition
- Serving Size: 1 cone
- Calories: 250
- Sugar: 15g
- Sodium: 200mg
- Fat: 15g
- Saturated Fat: 9g
- Unsaturated Fat: 4g
- Trans Fat: 0g
- Carbohydrates: 28g
- Fiber: 1g
- Protein: 3g
- Cholesterol: 30mg


")