
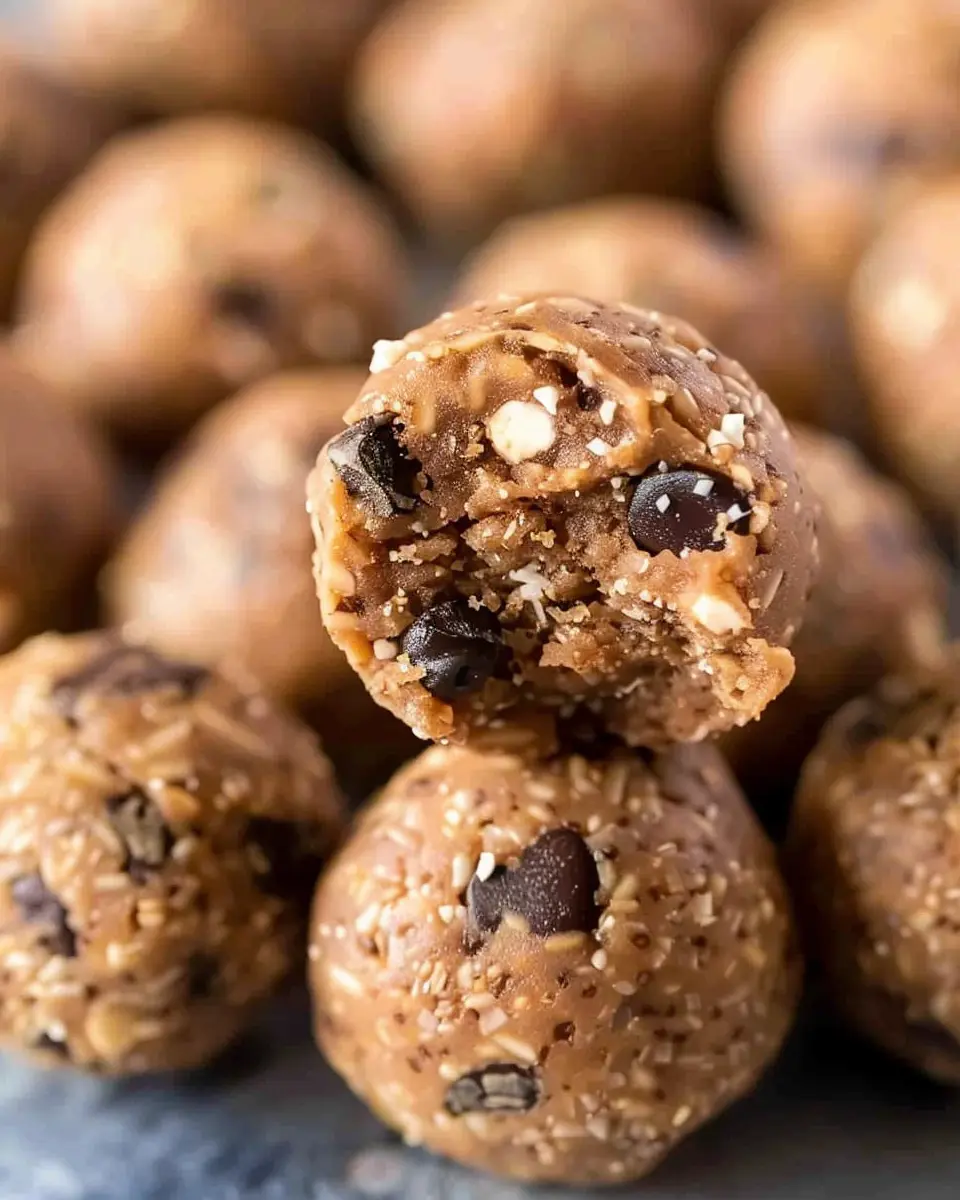
Introduction to No Bake Protein Balls
In today’s fast-paced world, finding time to prepare nutritious snacks can feel like a daunting task, especially for busy professionals trying to juggle work and personal commitments. That’s where no bake protein balls come in as your perfect solution. These little gems are not only quick and easy to prepare, but they also pack a nutritional punch, keeping you energized throughout your hectic day.
Why No Bake Protein Balls Are Perfect for Busy Professionals
Imagine this: it’s mid-afternoon, and your energy levels start to dip. You know you need a snack to stay focused, but who has time to whip up a full meal? Enter no bake protein balls—a simple, no-fuss option that can be made in less than 15 minutes. You can whip them up ahead of time, store them in your fridge or freezer, and grab them on your way out the door.
-
Nutrient-Rich Ingredients: Typically made with rolled oats, nut butter, and protein powder, these little balls offer a great balance of carbohydrates, healthy fats, and proteins. This combination ensures you’re not just satiated, but also adequately fueled for whatever challenges the day throws at you.
-
Customizable: One of the best aspects of no bake protein balls is how endlessly customizable they are. Want to add some dried fruits for natural sweetness? Go for it! Prefer a chocolatey twist with dark chocolate chips? Why not! This versatility means you can cater them to your taste preferences or dietary needs.
-
Portability: Let’s face it, as a young professional, convenience is key. These no bake protein balls are easy to store in small containers or bags, allowing you to carry them to the office, gym, or even while running errands.
So, whether you need a quick pick-me-up in the office or a post-workout recovery snack, no bake protein balls can easily slot into your routine. Check out health resources such as the Nutritional Guidelines from the USDA for insight into how balanced snacks can enhance your overall diet.
With just a few simple ingredients and a little bit of time, you can create satisfying treats that fit seamlessly into your busy lifestyle!
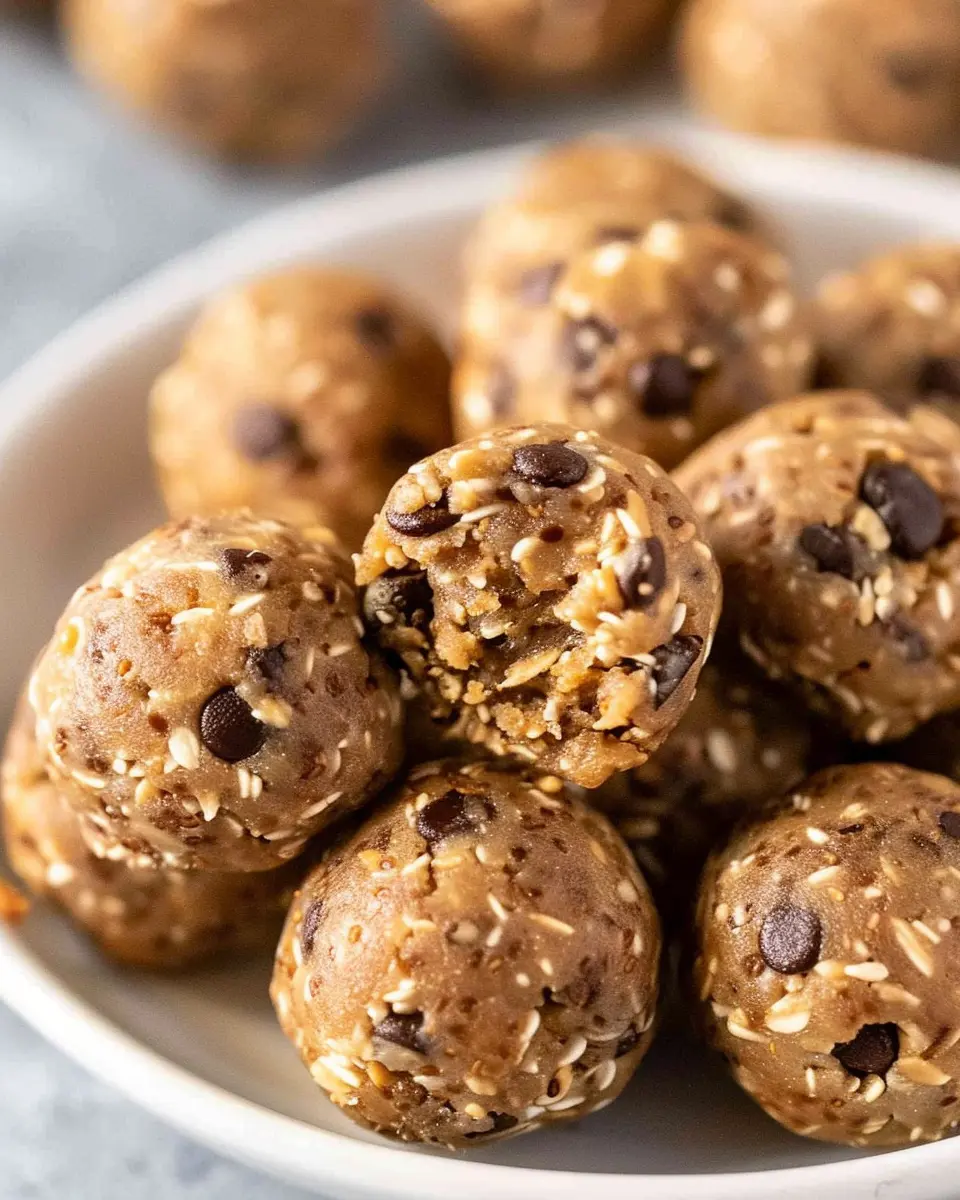
Ingredients for No Bake Protein Balls
Essential ingredients for a delicious and healthy snack
Creating no bake protein balls is a breeze, making them an ideal choice for busy young professionals. These bite-sized snacks come together in no time, and you probably have many of the ingredients on hand already. Here’s what you’ll need:
- Protein powder: A key component for that muscle-boosting punch. Choose a flavor you love—whether it’s chocolate, vanilla, or something fruity.
- Nut butter: This creamy delight adds richness and healthy fats. Almond or peanut butter works beautifully here.
- Rolled oats: These are great for binding and provide texture. Plus, they’re a fantastic source of fiber.
- Honey or maple syrup: A natural sweetener to enhance the flavor while keeping everything moist.
- Mix-ins: Think chocolate chips, dried fruits, or seeds. These not only add taste but also extra nutrients.
With these basic ingredients, you can whip up a batch in less than 15 minutes. If you’re looking for variations, check out resources like Healthline for creative twists on the classic recipe! The only limit is your imagination (and pantry). How about trying different nut butters or adding a sprinkle of chia seeds for a nutritious boost?
Preparing No Bake Protein Balls
Making no bake protein balls is not only a fun kitchen project but also a fantastic way to ensure you have a healthy snack ready whenever you need it. Packed with nutrients, these little bites will keep your energy levels high and your taste buds happy. Let’s break down the steps so you can whip up a batch in no time!
Gather Your Ingredients
The first step in preparing your no bake protein balls is to gather all your ingredients. Having everything at hand makes the process smoother and more enjoyable. Here’s a simple list of what you’ll need:
- 1 cup of rolled oats: Opt for whole-grain oats for added fiber.
- ½ cup of nut butter: Almond butter or peanut butter work beautifully.
- ⅓ cup of honey or maple syrup: This will add natural sweetness and help bind the mixture.
- 1 scoop of protein powder: Choose your favorite flavor for extra taste and nutrition.
- ½ cup of add-ins: Consider dark chocolate chips, dried fruit, or even seeds like chia or flaxseeds.
- A pinch of salt: Just enough to bring all the flavors together.
Feel free to explore variations! You can check out Healthline for more ideas on nutritious add-ins that can enhance both flavor and health benefits.
Combine the Core Ingredients
Once you have your ingredients gathered, it’s time to bring them together.
- In a large bowl, combine the rolled oats, nut butter, honey or maple syrup, and protein powder.
- Mix thoroughly until the ingredients are evenly coated and you achieve a sticky, dough-like consistency. If it feels too dry, a touch more honey or nut butter can help.
- Incorporate your chosen add-ins, mixing gently to ensure they are evenly distributed throughout the mixture.
As you mix, don’t hesitate to get creative! Maybe you want to add some shredded coconut or a sprinkling of cinnamon for a flavor twist.
Form the Protein Balls
Now comes the fun, hands-on part. With clean hands, grab small amounts of the mixture and roll them into balls about 1 inch in diameter.
- Make sure they’re packed tightly; this will help them hold their shape when cooling.
- If you find the mixture is too sticky, lightly dampening your hands can help with rolling.
Be sure to have some fun with this process! You can even involve friends or family and have a little competition to see who can make the best-looking no bake protein balls.
Chill Until Firm
After you’ve formed your no bake protein balls, it’s time to chill them. This step will give them the right texture and make them easier to eat.
- Place the rolled balls on a plate or a baking sheet lined with parchment paper.
- Refrigerate them for at least 30 minutes or until they’re firm to the touch.
The waiting time is a great opportunity to enjoy a relaxing moment or prep some other meals for the week!
Store for Future Snacking
Once your protein balls are chilled and firm, they’re ready to enjoy!
- Store them in an airtight container in the fridge for up to a week.
- If you want even greater longevity, you can freeze them for up to a month. Just thaw them in the refrigerator when you’re ready to snack!
Keeping nutritious snacks on hand is a game changer. Whether you need a quick pick-me-up during a busy workday or something to satisfy your sweet tooth without the guilt, these no bake protein balls are the perfect solution.
Now that you know how to prepare these little energy bites, why not give them a try? Cooking can be an adventure, so enjoy the process and feel free to share your variations with friends! If you’ve found this guide helpful, don’t forget to check out some expert advice on nutrition from sources like the Mayo Clinic. Happy snacking!
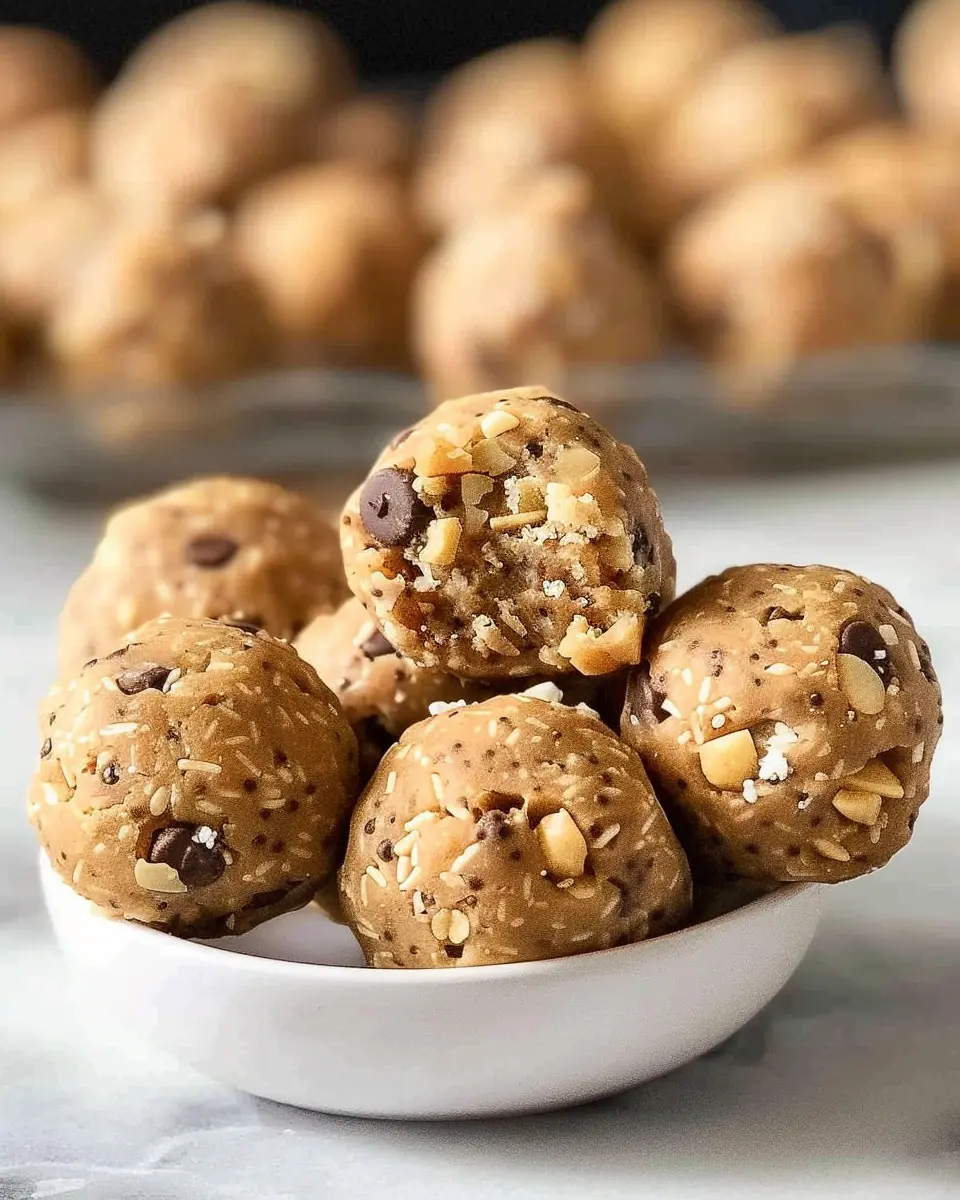
Variations on No Bake Protein Balls
No bake protein balls are a fantastic snack option that can easily be tailored to suit your tastes. If you’re looking to mix things up, consider these delicious variations that can add some fun to your meal prep routine.
Peanut Butter Chocolate Chip Protein Balls
Who can resist the classic combo of peanut butter and chocolate? For a delightful twist on no bake protein balls, simply incorporate mini chocolate chips into your mixture.
Ingredients:
- 1 cup natural peanut butter
- 1 cup rolled oats
- 1/2 cup honey or maple syrup
- 1/2 cup chocolate chips
- A pinch of salt
Combine all ingredients, roll into balls, and chill. Voila! You have a deliciously satisfying snack that’s perfect for a quick energy boost.
Almond Joy-Inspired Protein Balls
If you’re a fan of the Almond Joy candy bar, these protein balls will hit the spot! They fuse dark chocolate, coconut, and almond flavors.
Ingredients:
- 1 cup almond butter
- 1/2 cup shredded unsweetened coconut
- 1/2 cup dark chocolate chips
- 1/4 cup honey
- 1/2 cup rolled oats
Blend everything together, form into balls, and chill. This variation not only satisfies your sweet tooth but packs a nutritious punch!
Other Flavor Combos to Explore
The beauty of no bake protein balls is their versatility. Experimenting with different flavors can keep your snack game fresh. Here are some ideas to consider:
- Energy-Boosting Matcha: Add matcha powder and a touch of vanilla for a wellness boost.
- Dark Chocolate Peanut Butter: Mix dark cocoa powder with peanut butter for a richer taste.
- Spiced Pumpkin: Perfect for fall, blend pumpkin puree, cinnamon, and nutmeg into your mixture.
Feel free to explore seasonal ingredients or your favorite snacks for inspiration! Who says healthy can’t be fun? For more ideas, check out great resources like Minimalist Baker or Running on Real Food.
By playing around with these flavor profiles, you can create no bake protein balls that align with your personal preferences and dietary needs. Happy snacking!
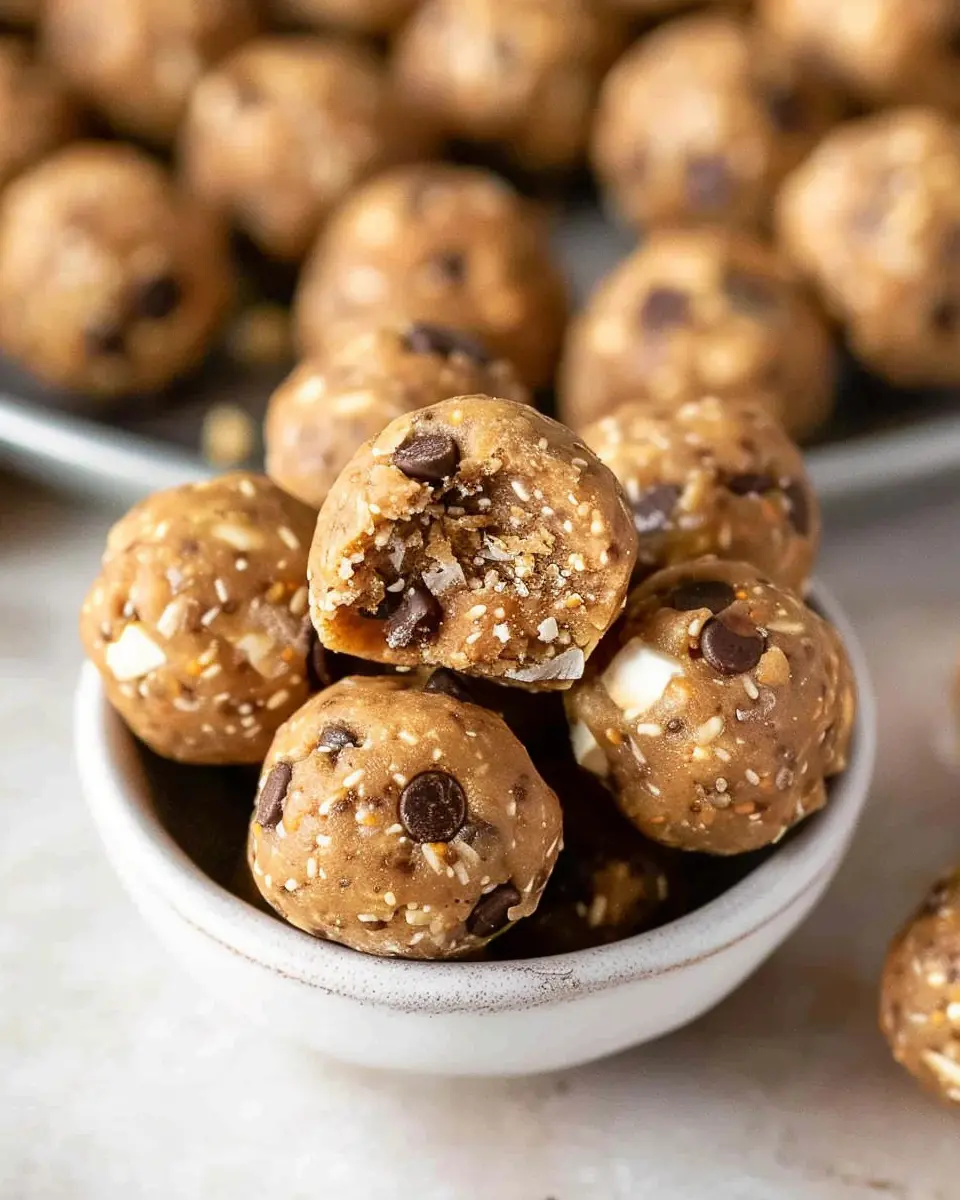
Cooking Tips and Notes for No Bake Protein Balls
Tips for achieving the perfect texture
Getting the right texture in your no bake protein balls is essential—they should be chewy, not dry or crumbly. Here are some tips to help you perfect them:
- Moisture Balance: Use a combination of nut butter and sweeteners like honey or maple syrup. This not only adds flavor but also maintains moisture.
- Chill Times: After mixing, give your balls some time in the fridge. A 30-minute chill helps them firm up, creating that perfect bite.
How to adjust sweetness and flavor
Want your no bake protein balls to stand out even more? Adjusting sweetness and flavor is simple:
- Sweetness Level: Don’t hesitate to taste your mixture before rolling! You can add more sweetener in small increments until you reach your preferred flavor.
- Flavor Boosts: Consider adding spices like cinnamon or cocoa powder for a unique twist. A pinch of sea salt can also elevate the overall taste!
Ingredient substitutions
Running low on an ingredient? No worries—here are some easy substitutions for your no bake protein balls:
- Nut Butters: Swap almond butter for cashew or sunflower seed butter if you have allergies.
- Protein Powder: If you don’t have your favorite protein powder, rolled oats can work well in a pinch, providing texture and energy.
For more inspiration and detailed ingredient uses, check out resources like Healthline or EatingWell. These tools can help you customize your recipe based on what you have on hand!
Serving Suggestions for No Bake Protein Balls
Creative Ways to Enjoy Them
No bake protein balls are incredibly versatile, and they can be enjoyed in numerous ways! Try these creative serving ideas to mix things up:
- Straight from the fridge: Enjoy them as a quick snack while on the go.
- Dipped in yogurt: A layer of Greek yogurt enhances texture and increases protein.
- Topped with fruit slices: Pair them with bananas or apples for added taste and nutrition.
- Blended into smoothies: Toss a ball in your morning smoothie for an extra protein boost.
These tasty bites not only serve as a perfect energy booster but also help you satisfy those sweet cravings without the guilt.
Pairing Suggestions for Balanced Nutrition
To create a well-rounded snack, consider pairing your no bake protein balls with other nutrient-rich foods. Here are some suggestions:
- Fresh veggies: Carrot sticks or cucumber slices add crunch and fiber.
- Nuts or seeds: A handful of almonds or chia seeds can boost healthy fats and nutrients.
- Herbal tea or infused water: Stay hydrated with delicious herbal tea or refreshing fruit-infused water to complement your snack.
By incorporating a variety of textures and flavors, you’ll ensure that your snack time is not only satisfying but also truly nourishing. For more insights on healthy eating, check out Nutrition.gov.
Enjoy your delicious no bake protein balls, and remember—snack smart!
Time Breakdown for No Bake Protein Balls
Preparation time
Getting started with your no bake protein balls doesn’t take much time at all—roughly 10 to 15 minutes. Gather your ingredients, and you’ll be ready to mix up a nutritious snack in no time! Whether it’s oats, nut butter, or your favorite protein powder, having everything on hand will streamline the process.
Chilling time
After mixing, let your no bake protein balls chill in the fridge for about 30 minutes. This helps them firm up, making them easier to bite into. Plus, this allows the flavors to meld beautifully, enhancing that delicious taste you’re reaching for!
Total time
All in all, you’re looking at approximately 40 to 45 minutes from start to finish, making these little energy bites a fantastic choice for a quick meal prep session. In less than an hour, you’ll have a batch of nutrient-packed energy snacks ready to fuel your busy days!
Feeling inspired? Grab the full recipe and get rolling right away! You can check out sites like Healthline for more ideas on healthy snacks and nutrition tips.
Nutritional Facts for No Bake Protein Balls
Key Nutritional Information per Serving
When diving into the realm of no bake protein balls, you’ll discover that each serving provides a delicious and nutritious boost. Typically, one ball contains around:
- 100-150 calories
- 6-8 grams of protein
- 5-7 grams of healthy fats
- 12-15 grams of carbohydrates
This makes them an ideal snack or quick energy boost during a busy day.
Balance of Macros
These tasty bites are cleverly balanced to sustain your energy levels. With a good mix of protein, carbohydrates, and healthy fats, they can keep you feeling full without weighing you down. The protein helps with muscle repair after workouts, while the carbs provide an immediate energy source, making them perfect for pre or post-exercise snacking.
Adding ingredients like oats or nut butter not only enhances flavor but also adds fiber and micronutrients. For more detailed insights about balanced snacking, you can check out Healthline’s nutrition resources.
Whether you’re looking for a quick breakfast, midday snack, or something to satisfy that sweet tooth, no bake protein balls fit right into any routine while supporting your health goals. How do you incorporate healthy snacks into your daily life? We’d love to hear your tips!
FAQs about No Bake Protein Balls
What is the shelf life of these protein balls?
When stored properly, no bake protein balls can last about one to two weeks in the fridge and up to three months in the freezer. To maximize their freshness, store them in an airtight container. If you love meal prepping, you can whip up a big batch and keep them handy for a quick snack throughout the week. Just make sure to label your container with the date — it saves a lot of guesswork later!
Can I make these vegan?
Absolutely! One of the best things about no bake protein balls is their versatility. You can easily substitute ingredients to suit a vegan lifestyle. Instead of using honey for sweetness, try maple syrup or agave nectar. For protein, consider using vegan protein powder and nut butter made from seeds or legumes. This way, you get all the delicious flavor without any animal products. Check out PETA’s guide for more vegan cooking tips!
Are there any nut-free alternatives?
If you or someone you know has a nut allergy, don’t worry! You can make scrumptious no bake protein balls tailored for nut-free diets. Instead of peanut butter or almond butter, opt for sunflower seed butter or pumpkin seed butter. These alternatives not only keep your protein balls safe but also add a unique flavor twist. Plus, you can even incorporate oats, coconut flakes, or dried fruits to enhance the texture and taste — the possibilities are endless!
Whether you’re a fitness enthusiast or just a busy professional, no bake protein balls offer a quick and healthy treat perfect for any lifestyle.
Conclusion on No Bake Protein Balls
Why you should make these a staple in your snack rotation
No bake protein balls are not just a quick, tasty option; they can be a game changer for your snack routine! Packed with nutritional goodness, these little energy bites are typically rich in protein, healthy fats, and fiber, making them an ideal post-workout snack or a busy day pick-me-up.
Imagine having a stash ready at home or work—perfect for when those afternoon cravings hit! Plus, they’re endlessly customizable; feel free to experiment with ingredients like nut butters, seeds, or dried fruits.
Explore recipes further at Healthline for great ideas on modifications or nutritional benefits. Start adding no bake protein balls to your snack lineup, and enjoy the convenience and health boost they bring to your day!
PrintNo Bake Protein Balls: Easy, Healthy Snacks You’ll Love
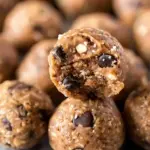
These No Bake Protein Balls are the perfect healthy snack that you can make in just a few minutes. Packed with protein and delicious flavors, they’ll satisfy your cravings!
- Prep Time: 10 minutes
- Cook Time: 0 minutes
- Total Time: 40 minutes
- Yield: 20 servings
- Category: Snacks
- Method: No Bake
- Cuisine: American
- Diet: Healthy
Ingredients
- 1 cup rolled oats
- 1/2 cup peanut butter
- 1/4 cup honey
- 1/2 cup chocolate protein powder
- 1/4 cup mini chocolate chips
Instructions
- In a large bowl, mix the oats, peanut butter, honey, chocolate protein powder, and mini chocolate chips together until well combined.
- Once mixed, use your hands to form small balls, approximately 1 inch in diameter.
- Place the balls on a baking sheet lined with parchment paper.
- Refrigerate for at least 30 minutes before serving to allow them to set.
Notes
- Feel free to customize these with your favorite mix-ins like nuts or dried fruit.
- These protein balls can be stored in the fridge for up to a week.
Nutrition
- Serving Size: 1 ball
- Calories: 90
- Sugar: 5g
- Sodium: 50mg
- Fat: 4g
- Saturated Fat: 1g
- Unsaturated Fat: 3g
- Trans Fat: 0g
- Carbohydrates: 10g
- Fiber: 1g
- Protein: 5g
- Cholesterol: 0mg


")