
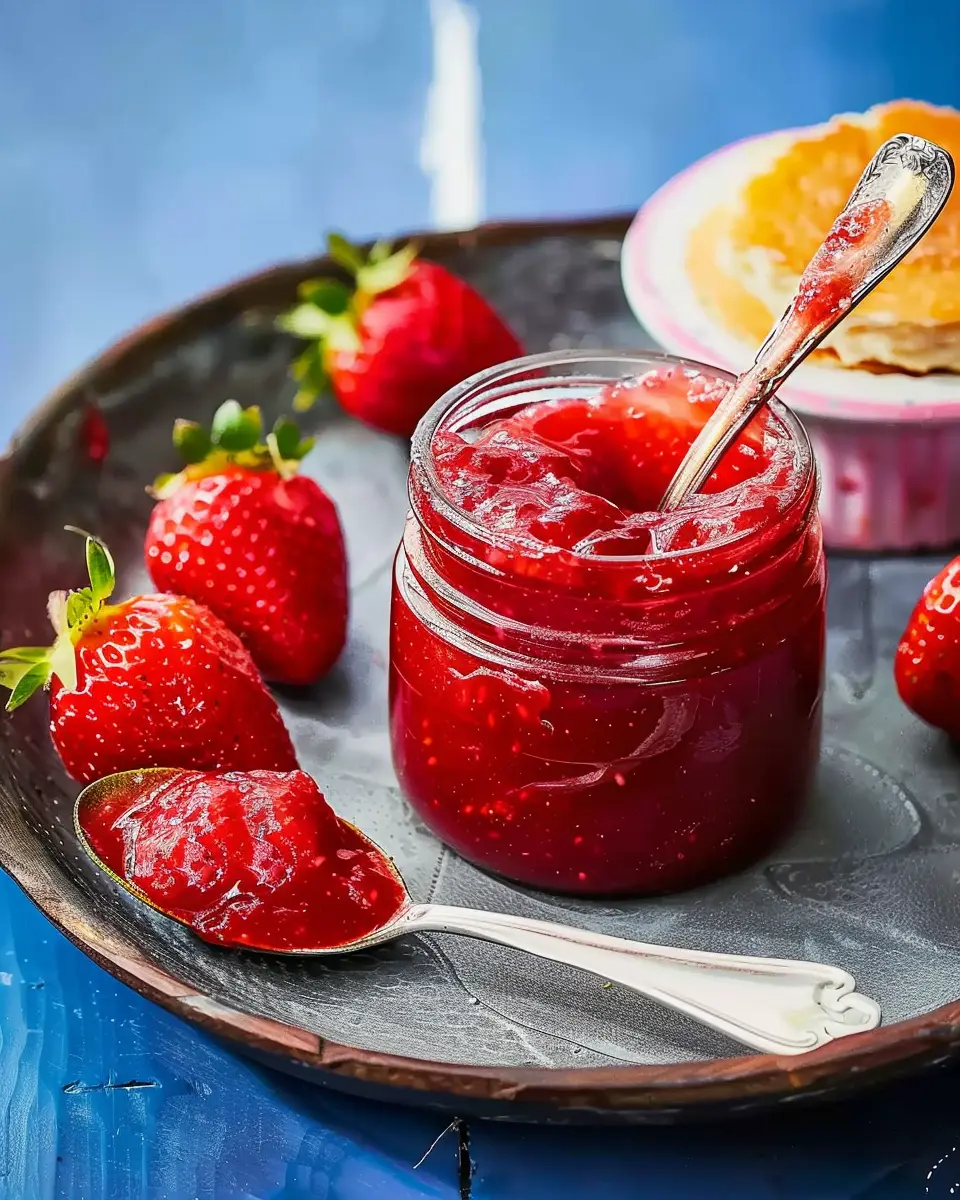
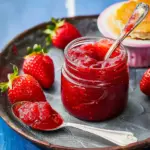
Introduction to Strawberry Jam
Who doesn’t love the taste of fresh strawberries? Making your own strawberry jam can transform this delightful fruit into a sweet spread that not only enhances your breakfast but also elevates your snacks and desserts. For young professionals, having a jar of homemade strawberry jam in the fridge is a game-changer that saves time and adds a personal touch to your meals.
Why Homemade Strawberry Jam is a Game-Changer for Young Professionals
In today’s fast-paced world, convenience often trumps quality. But what if you could have the best of both worlds? Crafting your own strawberry jam takes just a few simple ingredients and a little time, paving the way for a delightful reward. It’s an opportunity to harness your culinary creativity and feel accomplished while also being practical.
-
Customization: Store-bought jams can be hit or miss. When you make your own, you can adjust the sweetness, experiment with spices, or even combine other fruits for an exciting twist. Have you ever thought about adding a hint of basil or vanilla? The possibilities are endless!
-
Healthier Option: Store-bought jams often contain preservatives and artificial flavors. When you make your own, you know exactly what’s going in. Fresh strawberries, sugar, and maybe a touch of lemon juice – that’s it! Plus, you can control the sugar levels to make it less sweet if you prefer.
-
Economic: Let’s be honest—buying high-quality jams can add up quickly. Making your own can drastically reduce your overall grocery bill. Strawberries can be bought in bulk, especially during peak season, and turning them into jam means less waste.
Social gatherings, late-night study sessions, or a quick bite—everyone appreciates a good jam. Imagine spreading your homemade strawberry jam over Turkey Bacon or a slice of whole-grain toast as you prepare for your day. What a delightful boost to your morning!
In a world where the average person has about 30 minutes for breakfast, having a jar of strawberry jam can save valuable time while adding nutrition and flavor. Ready to dive into the world of homemade jam? Your taste buds will thank you!
For more tips on preserving fruits, check out the National Center for Home Food Preservation for reliable guidance.
Ingredients for Strawberry Jam
Essential ingredients for a fresh and vibrant strawberry jam
When it comes to making the perfect strawberry jam, having the right ingredients is crucial for capturing that delightful, fresh flavor. Let’s break down what you’ll need:
- Fresh Strawberries: About 2 pounds of ripe, juicy strawberries will give your jam a rich, vibrant color and natural sweetness. The fresher, the better!
- Granulated Sugar: Approximately 4 cups of sugar is needed to help preserve your jam and balance the sweetness of the strawberries. Adjust this according to your taste preference.
- Lemon Juice: About 1/4 cup of freshly squeezed lemon juice enhances the flavor while providing acidity that helps gel the mixture. It’s an absolute game changer!
- Pectin: 1 package of fruit pectin helps achieve that perfect, luscious texture. Make sure to follow the instructions for the type you buy.
By gathering these ingredients, you’re setting the stage for a homemade strawberry jam that will impress friends and family. For more tips on selecting quality strawberries, check out this guide. Happy jamming!
Step-by-Step Preparation for Strawberry Jam
Making strawberry jam at home is not only an enjoyable task but also a rewarding one, especially when summer fruits are at their peak sweetness. In this section, I’ll walk you through the essential steps to create your own delicious batch of strawberry jam. Grab your apron, and let’s get started!
Gather Your Ingredients
The first step in making strawberry jam is to ensure you have all your ingredients ready. A seamless cooking process makes for a delightful experience. Here’s what you’ll need:
- Fresh strawberries (approximately 2 pounds)
- Granulated sugar (about 4 cups, depending on sweetness preference)
- Lemon juice (1/4 cup; fresh is best!)
- Pectin (if following a recipe that calls for it)
- Cheesecloth (to contain any seeds if preferred)
Before starting, make sure to wash your strawberries thoroughly. Did you know that thoroughly washing your fruits can help remove any pesticides or dirt? For more on that, check out this guide on washing fruits and veggies.
Simmering the Jam Mixture
With everything prepped and ready, it’s time to get cooking! Start by hulling your strawberries and cutting them into quarters. Place them in a large pot and add the granulated sugar and lemon juice.
- Let it sit: Allow the mixture to sit for about 30 minutes. This helps release the natural juices from the strawberries.
- Heat it up: Turn your stovetop on to medium heat and stir the mixture until it reaches a gentle boil. At this stage, the sugar should dissolve entirely, giving the strawberries a lovely syrupy consistency.
Always stir frequently to avoid any scorching on the bottom of the pot. Have you ever tasted burnt jam? It’s not pleasant!
Testing the Jam’s Thickness
After simmering for about 10-15 minutes, it’s time for one of the most crucial steps: testing the jam’s thickness.
- Spoon Test: Take a spoonful of the mixture and let it cool for a minute. To see if it’s ready, tilt the spoon. If the jam coats the back and runs slowly, it’s time to move on. If not, keep simmering and testing every few minutes.
- Cold Plate Method: Alternatively, drop a spoonful of syrup onto a cold plate. If it’s thick enough to hold its shape, you’re good to go!
It’s an exciting moment—one step closer to enjoying your homemade strawberry jam!
Removing the Cheesecloth Bag
If you’ve used cheesecloth to gather any seeds, now is the time to remove it from your jam.
- Lift it carefully: Ensure you hold it over the pot, allowing any remaining juice to drip down into the jam.
- Squeeze it out: For those last remaining drops of goodness, a gentle squeeze will help release any trapped liquid.
Remember, if you opted for no cheesecloth, you might need to prepare yourself for the delightful crunch of seeds!
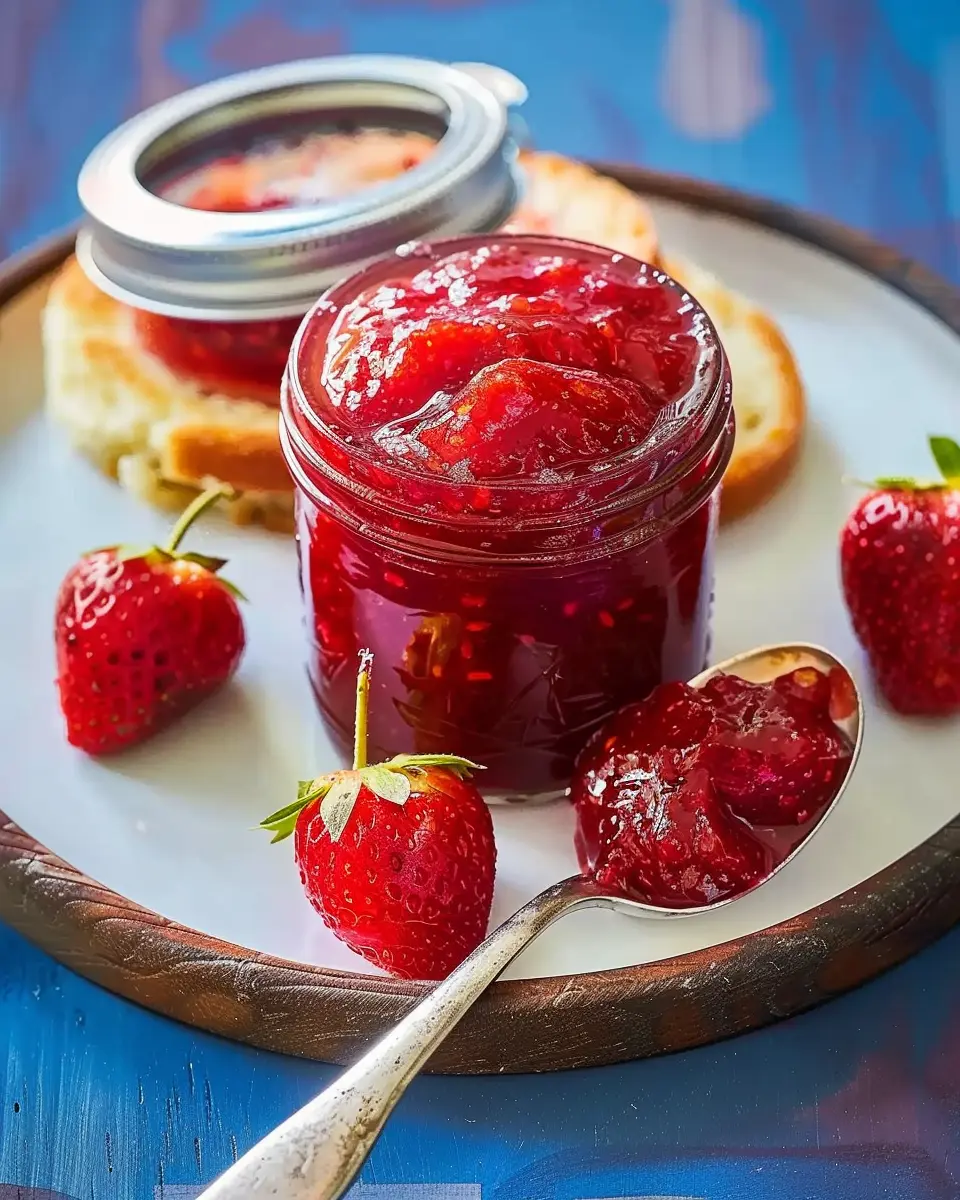
Filling the Jars
It’s almost time to savor your homemade strawberry jam. But first, we need to jar it up properly.
- Sterilize your jars: This step is essential for food safety. Wash your glass jars and lids in hot, soapy water, and rinse well. You can also sterilize them in boiling water for 10 minutes.
- Pour it in: Using a funnel, carefully pour the hot jam into each sterilized jar, leaving about 1/4-inch headspace at the top. Wipe any spills from the rim before sealing.
- Seal it up: Place the lids tightly on your jars, allowing them to cool. As they cool, you’ll hear a satisfying popping sound, which indicates your jars are sealed!
Homemade strawberry jam is such a treat, perfect for spreading on toast, topping off yogurt, or simply indulging from the jar. Now you’re ready to create your own captivating strawberry jam adventure! Enjoy sharing it with friends and family, or keeping it all for yourself!
By following these straightforward steps, you’ll not only create a delightful kitchen memory but also produce a scrumptious strawberry jam that you can cherish throughout the year. Happy cooking!
Variations of Strawberry Jam
There’s something delightful about strawberry jam, but why not mix it up a bit? Here are some creative variations that can elevate your jam game!
Strawberry-Chamomile Jam for a unique twist
If you’re seeking a comforting taste, try adding chamomile to your classic strawberry jam. The gentle floral notes of chamomile complement the natural sweetness of strawberries, making it perfect for a cozy breakfast or a lovely afternoon tea. Simply steep chamomile tea in your boiling fruit mixture, or add dried chamomile flowers during cooking. Not only does this create a unique flavor, but chamomile is also known for its calming properties, so you can enjoy your jam with a sense of relaxation.
Blueberry Jam as a flavorful alternative
For those who adore blueberries, experimenting with blueberry jam can be a tasty alternative to traditional strawberry jam. The rich, fruity flavor of blueberries melds well with sugar and lemon juice for a robust spread. Incorporating blueberry jam into yogurt, pancakes, or even as a sandwich spread can add a pop of flavor to your meals. Plus, blueberries offer antioxidants and are low in calories, making them a healthy choice.
Blueberry-Rose Jam that adds a floral touch
Want something truly luxurious? Consider making blueberry-rose jam. The enchanting aroma of dried rose petals mixed with the tangy blueberries can transform your toast into a gourmet experience. Add a teaspoon of rose water while cooking the blueberries to give it that fragrant touch—just remember, a little goes a long way! This jam is best paired with Turkey Bacon or cream cheese, making it an ideal treat for brunch.
Each of these variations opens up a world of flavors, perfect for whatever occasion—be it a casual breakfast or a fancy brunch gathering. Explore these options, and who knows? You might just find your new favorite jam! For more jam recipes and inspiration, check out The Joy of Cooking.
Cooking Tips and Notes for Strawberry Jam
Key tips for perfect strawberry jam consistency
When making strawberry jam, getting that perfect, spreadable consistency can feel like an art. Here are a few tips to help you nail it:
- Use fresh strawberries: Ripe, juicy strawberries will yield the best flavor and texture. Look for berries that are deep red and free of blemishes.
- Proper pectin use: Depending on your recipe, make sure to add the right amount of pectin. Check instructions on pectin packaging for guidance.
- Thorough boiling: Bring the mixture to a rolling boil to ensure it thickens properly. Keep a candy thermometer handy; you’re aiming for around 220°F (104°C).
Common pitfalls to avoid in jam-making
Making jam can be delightful, but a few common mistakes can lead to disappointing results. Watch out for:
- Overcooking: Jam that cooks too long can turn into syrup; keep an eye on the clock.
- Skipping sterilization: Don’t forget to properly sterilize your jars beforehand to avoid spoilage.
- Ignoring the sugar: Consistent sugar levels stabilize the jam. Deviating from the recipe here can lead to unexpected results.
For further tips, you might find this guide on preserving jam from your local extension service handy! Happy jamming!
Serving Suggestions for Strawberry Jam
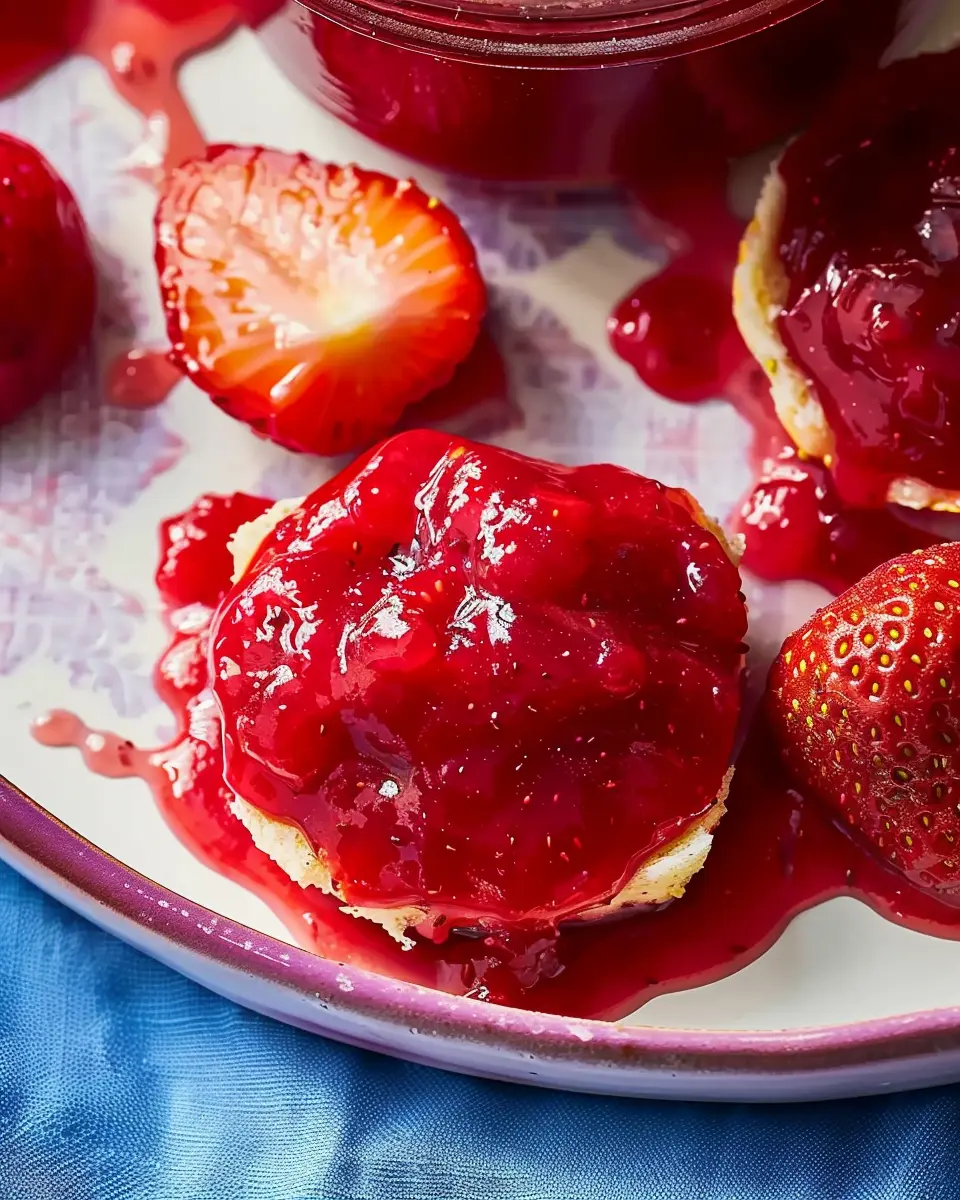
Delightful ways to enjoy your homemade strawberry jam
There’s nothing quite like the taste of homemade strawberry jam. Spread it on warm, buttery toast for a delightful breakfast or swirl it into Greek yogurt for a sweet afternoon snack. You could also use it as a filling for pastries or as a topping for pancakes and waffles, making your brunch parties memorable.
Feeling creative? A simple cheese platter can transform when you add a jar of strawberry jam. Serve it alongside brie or goat cheese — the combination of sweet and savory will have your guests coming back for seconds. For more pairing ideas, check out this article on cheese and jam pairings.
Pairing suggestions for savory dishes
You might be surprised at how well strawberry jam complements savory dishes. Try a dollop on a turkey bacon sandwich for a unique flavor twist, or pair it with chicken ham atop a charcuterie board.
For a quick meal, mix it with balsamic vinegar to create a glaze for grilled chicken or beef. The sweet and tangy sauce will elevate your dinner to a whole new level!
Incorporating these ideas will ensure that your strawberry jam isn’t just a sweet treat, but a versatile condiment that shines in both sweet and savory realms.
Time Breakdown for Making Strawberry Jam
Preparation Time
Making strawberry jam is a delightful process that starts with a little prep. You’ll need about 15 to 20 minutes to wash, hull, and chop your fresh strawberries. Don’t rush this – take your time to enjoy the vibrant colors and sweet aroma as you work!
Cooking Time
Once your strawberries are prepped, it’s time to cook. The actual cooking time typically takes around 30 to 40 minutes. You’ll witness the transformation as the mixture thickens and the sweet scent fills your kitchen. It’s the perfect moment to reflect on why you love homemade treats!
Total Time
In total, you’re looking at about 50 to 60 minutes from start to finish for your strawberry jam. For a sweeter experience, you could add a splash of lemon juice or zest for brightness. And remember, the effort you put in today will yield delicious jam to enjoy later! For more detailed tips on the process, consider exploring sources like Food Network or Serious Eats.
Nutritional Facts for Strawberry Jam
When it comes to indulging in strawberry jam, it’s good to know what you’re putting on your toast or pancakes. Here’s a quick overview of the nutritional content per serving:
Calories per serving
A typical serving of strawberry jam (about 1 tablespoon) contains approximately 50 calories. While that may seem manageable, it adds up if you tend to slather it on generously!
Sugar content
You might be surprised to find out that a tablespoon holds around 10 grams of sugar. Most of this sugar comes from the fruit and added sweeteners. Remember, while sugar provides energy, moderation is key.
Vitamins and nutrients
Strawberries are rich in vitamins, particularly vitamin C, which is essential for a healthy immune system. Additionally, they contain small amounts of fiber and antioxidants, making strawberry jam a bit more than just a sweet treat. For a deeper dive into the health benefits of strawberries, consider checking out sources like the USDA FoodData Central or the Harvard T.H. Chan School of Public Health.
Incorporating strawberry jam into your diet can lead to delightful breakfasts, but as with all sweet things, a balanced approach is always best!
FAQ about Strawberry Jam
How can I tell if my jam is ready?
Knowing when your homemade strawberry jam is ready requires a keen eye and a bit of patience. One common method is the plate test: drop a spoonful of the jam onto a cold plate and let it sit for a minute. Then, tilt the plate—if it holds its shape and you see wrinkles forming, you’re good to go! An instant-read thermometer can also help; ideal jam temperature should reach around 220°F (104°C). For more tips on testing the consistency of your jam, check out this helpful guide from the USDA.
What’s the best way to store homemade strawberry jam?
To keep your delicious strawberry jam fresh for as long as possible, proper storage is key. First, ensure your jam is completely cool before sealing it in sterilized jars. Use airtight containers—glass jars with a sealing lid work great. Store them in a cool, dark place like a pantry. Once opened, refrigerate the jam and aim to consume it within a few weeks. However, if you want to enjoy it for a longer duration, consider freezing smaller jars. Just leave a little space in the jar for expansion when it freezes!
Can I use frozen strawberries instead?
Absolutely! Frozen strawberries can be a fantastic alternative to fresh ones, especially out of season. They are often picked at peak ripeness and then frozen, locking in flavor and nutrients. When using frozen strawberries for your strawberry jam, simply thaw them first and strain any excess liquid if needed. Check out the National Center for Home Food Preservation for additional tips on using frozen fruit in your jam-making adventures.
With these FAQs, you’re one step closer to becoming a strawberry jam expert! Enjoy the sweet rewards of your efforts!
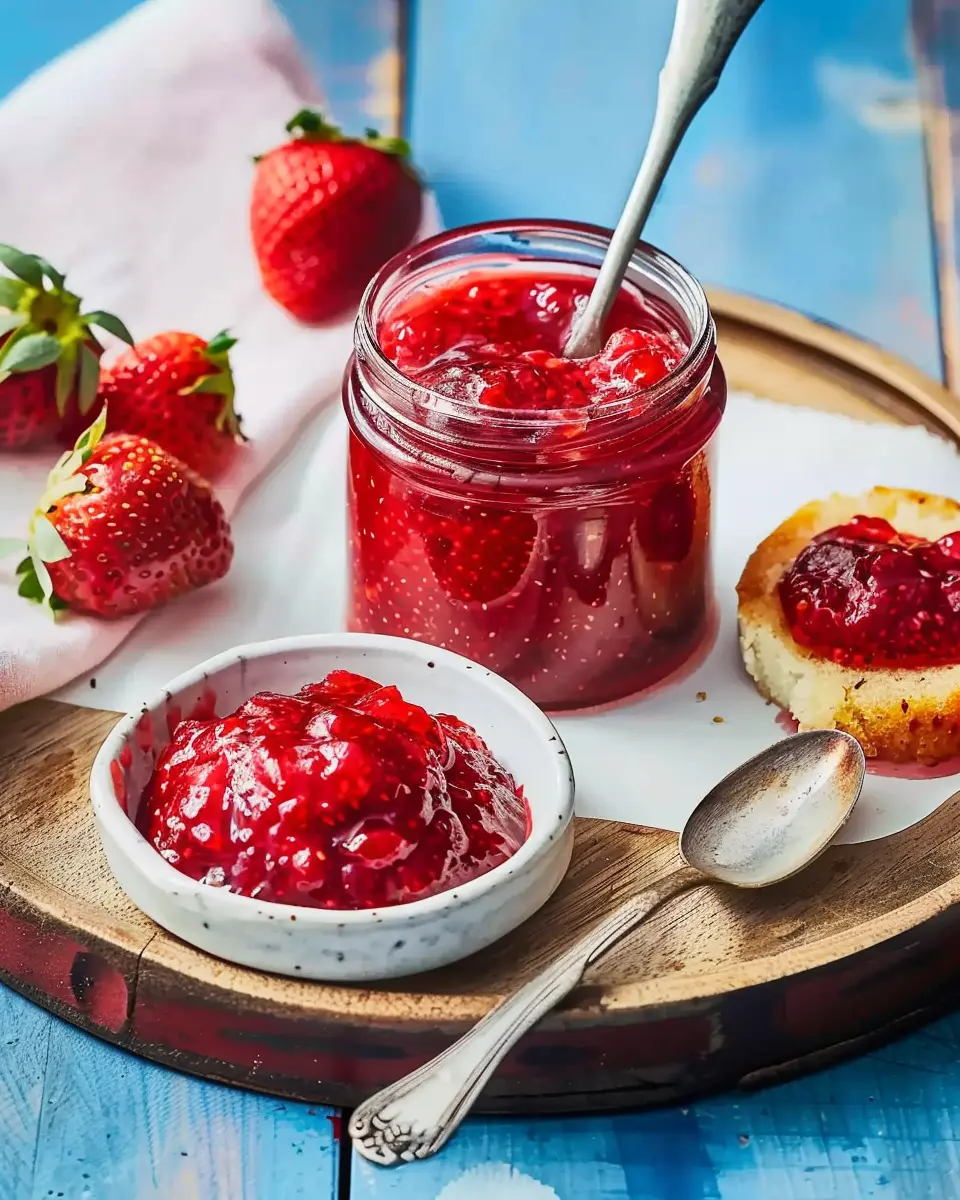
Conclusion on Strawberry Jam
Making your own delicious strawberry jam is a truly rewarding experience that heightens the joy of cooking. It’s not just about blending ripe strawberries with sugar; it’s about creating something uniquely yours. Whether you’re slathering it on toast or gifting it to friends, nothing beats the vibrant flavor of homemade jam.
In just a few easy steps, you can preserve the taste of summer in a jar. Plus, the satisfaction of knowing you crafted it from scratch adds a special touch. If you’re eager to start your jam-making journey, resources like The National Center for Home Food Preservation provide terrific insights on techniques and safety.
So why not gather your ingredients? Unlock that potential, and turn fresh strawberries into a delightful treat that you can enjoy year-round!
PrintStrawberry Jam: Easy Recipe for Delicious Homemade Goodness
Learn how to make delicious homemade strawberry jam with this easy recipe!
- Prep Time: 15 minutes
- Cook Time: 20 minutes
- Total Time: 35 minutes
- Yield: 4 cups
- Category: Desserts
- Method: Canning
- Cuisine: American
- Diet: Vegetarian
Ingredients
- 2 pounds fresh strawberries
- 4 cups granulated sugar
- 1/4 cup lemon juice
Instructions
- Wash and hull the strawberries, then mash them in a large bowl.
- Add sugar and lemon juice to the mashed strawberries and mix well.
- Let the mixture sit for 30 minutes.
- Pour the mixture into a large pot and bring to a boil over medium heat.
- Cook for 15-20 minutes, stirring constantly, until the jam thickens.
- Test the jam by placing a spoonful on a cold plate; if it holds its shape, it’s ready.
- Pour the jam into sterilized jars and seal.
Notes
- Use ripe strawberries for the best flavor.
- Store leftover jam in the refrigerator.
Nutrition
- Serving Size: 2 tablespoons
- Calories: 50
- Sugar: 12g
- Sodium: 0mg
- Fat: 0g
- Saturated Fat: 0g
- Unsaturated Fat: 0g
- Trans Fat: 0g
- Carbohydrates: 13g
- Fiber: 0g
- Protein: 0g
- Cholesterol: 0mg


")