Introduction to Pumpkin Pie Bars
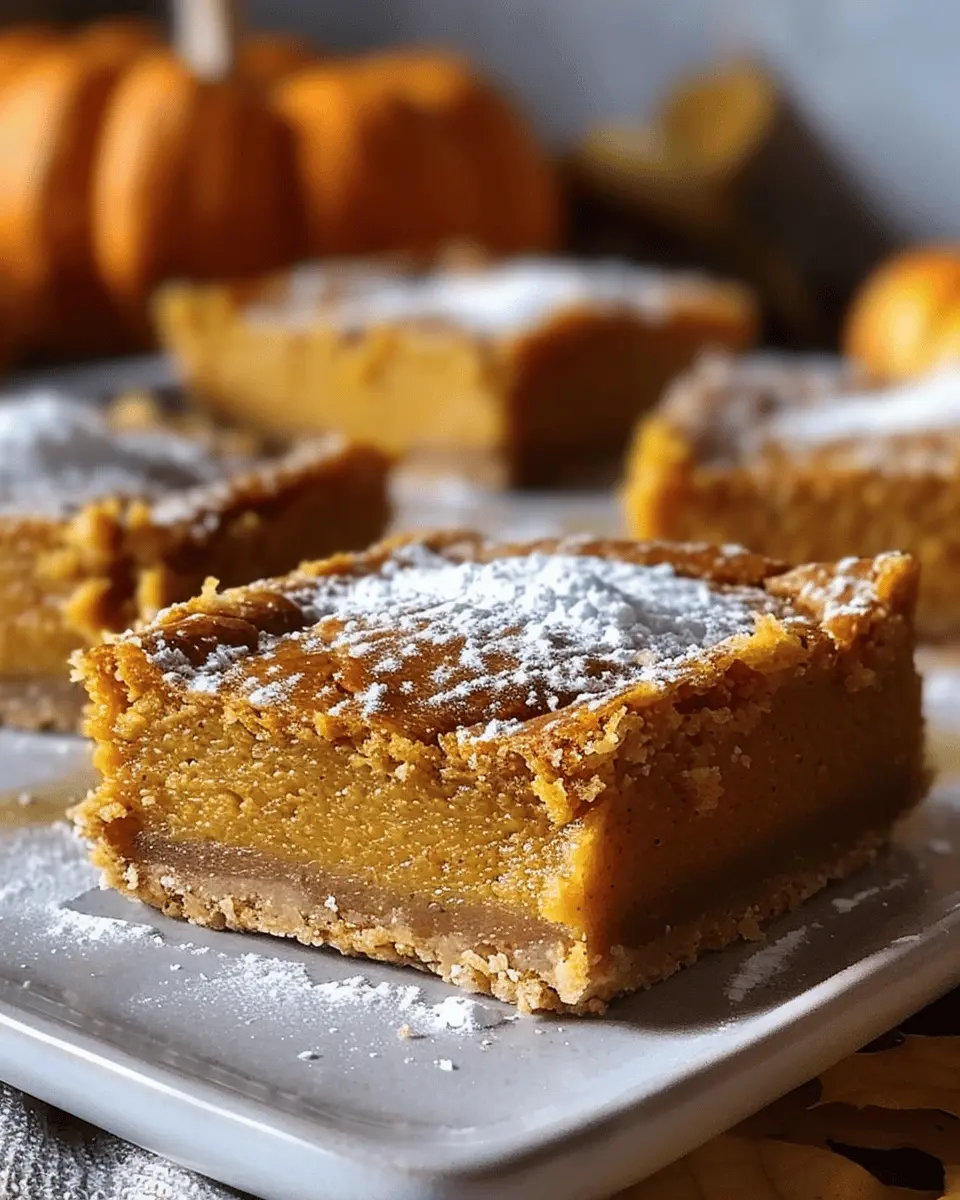
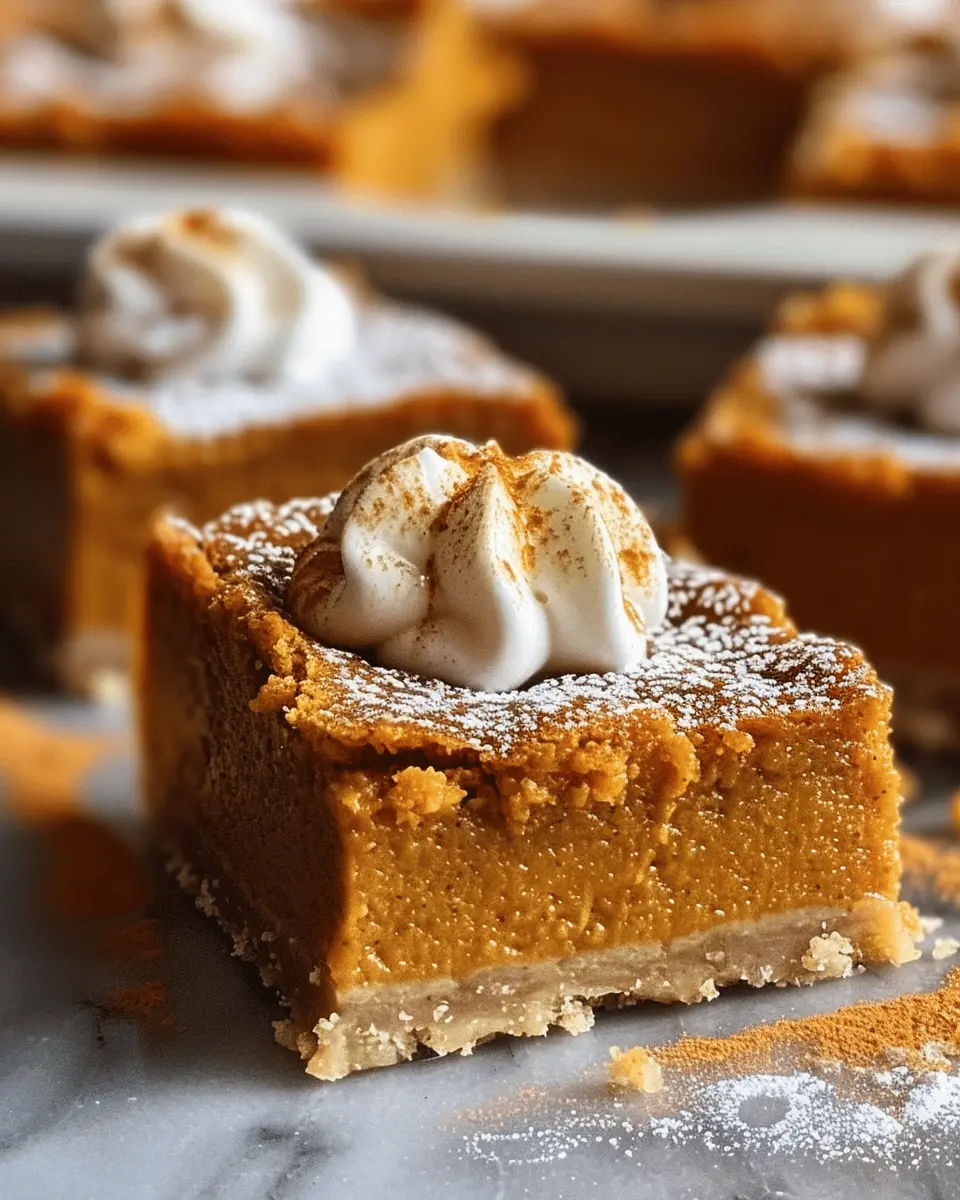
As the leaves begin to turn and the crisp air of fall settles in, there’s no denying that it’s the perfect season for all things pumpkin. Among the delightful array of pumpkin-infused treats, Pumpkin Pie Bars stand out as an ultimate fall indulgence. These bars capture the essence of the traditional pumpkin pie but pack it all into a convenient, easy-to-serve form.
Why Pumpkin Pie Bars are the Ultimate Fall Treat
Imagine biting into a rich, creamy filling that’s perfectly spiced with cinnamon and nutmeg, sitting atop a buttery, crumbly crust. That’s precisely what Pumpkin Pie Bars bring to the table! Here are a few reasons why they should be on your fall bucket list:
-
Versatile and Easy to Make: Unlike classic pumpkin pie that can be tricky to slice, Pumpkin Pie Bars are straightforward to prepare. You can whip them up in one bowl, making cleanup a breeze.
-
Ideal for Gatherings: Whether it’s a Friendsgiving or a simple get-together, these bars are perfect for sharing. Slice them into squares, and you’ve got an easy dessert that’s sure to impress your guests.
-
Healthier Alternative: If you’re looking to enjoy the flavors of fall without feeling weighed down, these bars can be made using nutritious substitutes. For instance, swap out the standard sugar for maple syrup or honey, and use whole grain flour instead of regular flour to boost nutrition.
Not to mention, pumpkin puree is packed with nutrients. It’s rich in vitamins A and C, fiber, and antioxidants, making it a wholesome choice for your dessert. If you want to explore more about the health benefits of pumpkin, check out resources from the Harvard T.H. Chan School of Public Health.
Fall is an invitation for cozy nights, flavorful foods, and celebrating with friends and family. So why not bring Pumpkin Pie Bars into your home? They’re not just a dessert; they’re a slice of autumn goodness on a plate. With just the right blend of spices and that oh-so-familiar pumpkin flavor, you’ll be sure to savor every last bite and create lasting memories along the way.
Stay tuned as we dive into the recipe that will make your kitchen smell divine this fall!
Ingredients for Pumpkin Pie Bars
Making delicious Pumpkin Pie Bars starts with gathering the right ingredients. Here’s a breakdown to help you prepare this autumn favorite.
Essential ingredients for the crust
The crust is the foundation of your Pumpkin Pie Bars, offering a delightful crunch to complement the creamy filling. For the perfect crust, you’ll need:
- All-purpose flour: 1 ½ cups to create a firm base.
- Granulated sugar: ½ cup adds a touch of sweetness.
- Cold unsalted butter: ¾ cup, cut into small pieces for a flaky texture.
- Salt: Just a pinch enhances the flavors beautifully.
- Ice water: About 3-4 tablespoons to bring the dough together.
These ingredients will help you create a crust that holds up well under the rich filling.
Key components for the pumpkin filling
The heart of your Pumpkin Pie Bars is the filling. It’s where the warmth of fall flavors comes alive. You’ll want:
- Canned pumpkin puree: 1 cup for that classic pumpkin taste.
- Brown sugar: ¾ cup, lending a deep sweetness.
- Eggs: 2 large for binding everything together.
- Heavy cream or evaporated milk: 1 cup for a creamy finish.
- Spices: A mix of cinnamon, nutmeg, and ginger for that iconic pumpkin pie flavor.
What’s great about using canned pumpkin is the convenience—like what you’ll find in this guide from the USDA.
Topping essentials
Finish your Pumpkin Pie Bars with a simple but delightful topping. Consider:
- Whipped cream: Whether homemade or store-bought, it adds a light touch.
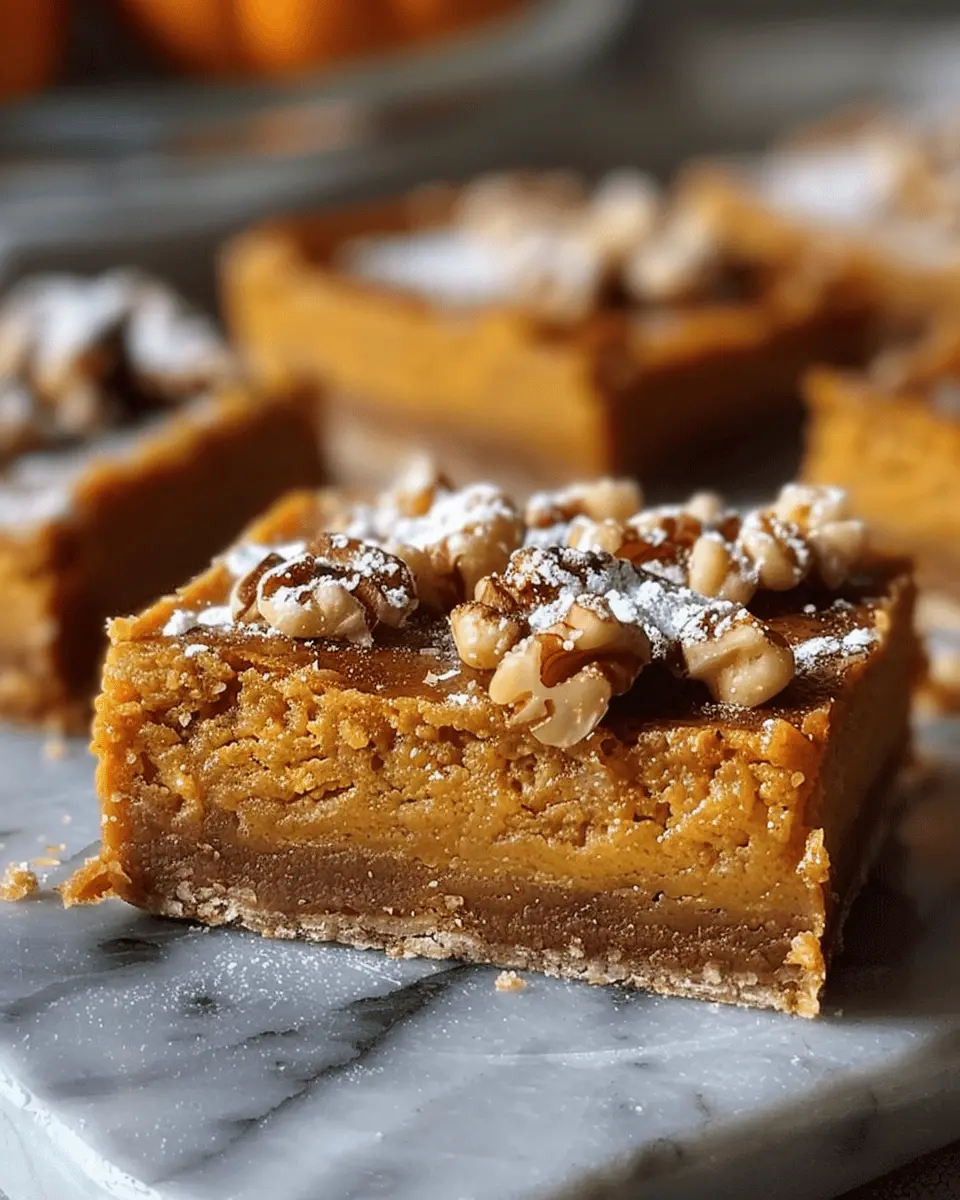
- Chopped pecans or walnuts: A ½ cup for an added crunch.
- A sprinkle of cinnamon: Just a dash for that extra flare.
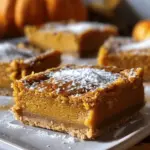
These elements not only enhance the taste but also elevate the presentation, making your pale orange bars look fancy and inviting.
With these ingredients on hand, you’re all set to whip up a batch of delicious Pumpkin Pie Bars that will impress friends and family alike! Are you ready to dive into this baking adventure?
Step-by-step Preparation of Pumpkin Pie Bars
Making Pumpkin Pie Bars is a fantastic way to capture the cozy flavors of fall without the fuss of a traditional pie. These delicious treats are easy to whip up and perfect for sharing with friends or family. Let’s walk you through the preparation step-by-step, so you can create these delightful bars right in your kitchen.
Preheat the oven and prepare the baking dish
Before diving into our recipe, let’s get your kitchen set up for success. Preheating the oven to 350°F (175°C) is crucial. This ensures that when we pop those Pumpkin Pie Bars in, they bake evenly and achieve that perfect texture.
Next, grab a 9×13-inch baking dish. To make cleanup a breeze, consider lining it with parchment paper, leaving some overhang on the sides. This little trick makes it super easy to lift the bars out straight from the dish once they cool. It’s all about those easy-peasy kitchen hacks!
Make the buttery graham cracker crust
Now it’s time to create that delicious, buttery crust that will serve as the foundation for our Pumpkin Pie Bars.
- Ingredients you’ll need:
- 1 ½ cups of graham cracker crumbs
- ½ cup of unsalted butter, melted
- ¼ cup of granulated sugar
- A pinch of salt
- Instructions:
- In a mixing bowl, blend the graham cracker crumbs, melted butter, sugar, and salt. The key here is to achieve a texture that resembles damp sand.
- Press this mixture evenly into the bottom of your prepared baking dish. Use the back of a measuring cup or your hands for an even surface.
You’ll want to bake this crust for about 10 minutes to firm it up before adding the pumpkin filling. This initial bake ensures your bars won’t turn soggy—nobody wants that!
Whisk together the pumpkin filling
Once the crust is prepped and has cooled a bit, we can move on to the crowning glory—the pumpkin filling. Yes, the smell of this mixture will have everyone in your household flocking to the kitchen!
- Gather these ingredients:
- 1 can (15 oz) of pure pumpkin puree
- 1 cup of sweetened condensed milk
- 2 large eggs
- 1 teaspoon of vanilla extract
- 2 teaspoons of pumpkin pie spice (or a mix of cinnamon, nutmeg, and ginger)
- ½ teaspoon of salt
- Instructions:
- In a large mixing bowl, whisk together the pumpkin puree, sweetened condensed milk, eggs, vanilla extract, and spices.
- Whisk until everything is smooth and thoroughly combined.
A little tip: Taste your filling before pouring it into the crust. It should be sweet and spicy enough to make your taste buds tingle with excitement!
Pour and spread the filling over the crust
With your filling all whisked, it’s time to transform your crust into the delicious Pumpkin Pie Bars. Gently pour the filling over the pre-baked crust, using a spatula to spread it evenly.
Bake and check for doneness
Place the baking dish back in the oven and bake for about 30-35 minutes. To check for doneness, insert a toothpick in the center. If it comes out mostly clean with a few moist crumbs, you’re golden.
Remember, the bars will continue to firm up a little while they cool, so don’t be alarmed if it seems just a touch wobbly in the middle!
Cool and refrigerate before serving
Once baked, remove the dish from the oven and let it cool to room temperature. Patience is a virtue here! After cooling, refrigerate the Pumpkin Pie Bars for at least a couple of hours, or even overnight if you can resist.
When you’re ready to serve, lift the bars out using the parchment overhang and cut them into generous squares or rectangles. They’re perfect as is, but feel free to top them with whipped cream or a sprinkle of cinnamon for an extra touch!
By following these simple steps, you’ll transform everyday ingredients into a dessert that captures the essence of autumn. Enjoy baking your delightful Pumpkin Pie Bars!
Variations on Pumpkin Pie Bars
Pumpkin Pie Bars with a Twist of Spice
If you’re looking to elevate your classic Pumpkin Pie Bars, consider adding a touch of spice! A pinch of cardamom or nutmeg can bring a warm, aromatic flair to your recipe. You might also try mixing in some candied ginger for a zingy twist. If you’re feeling adventurous, a tablespoon of maple syrup can add a delightful depth of flavor. Each of these additions keeps the comforting essence of pumpkin while making your bars uniquely your own. For more insightful tips on flavor profiles, check out The Spruce Eats.
Alternative Crust Options
Let’s talk crust! While traditional recipes often call for a graham cracker crust, why not experiment?
- Nut-Based Crust: Blend almonds or pecans with a bit of butter for a gluten-free option that adds a rich flavor.
- Oat Crust: Use rolled oats combined with coconut oil for a chewy, wholesome base.
These alternatives not only cater to various dietary preferences but also amplify the exquisite taste of those Pumpkin Pie Bars.
Vegan and Gluten-Free Adaptations
Don’t let dietary restrictions keep you from enjoying the delightful world of Pumpkin Pie Bars. For a vegan version, substitute eggs with flax seeds or applesauce. A simple 1:1 replacement with coconut cream can give you that luscious filling without dairy. For gluten-free needs, ensure your crust ingredients are certified gluten-free or use almond flour or oat flour to create a delicious and satisfying base. You can find more gluten-free baking tips over at Food52.
Making these adaptations allows everyone to indulge in a comforting slice, embracing the spirit of the season!
Cooking Tips and Notes for Pumpkin Pie Bars
Best practices for crust and filling consistency
When making Pumpkin Pie Bars, achieving the ideal balance between your crust and filling is crucial. Start with a well-chilled butter for the crust; this helps to create that flaky texture we all love. For the filling, ensure your pumpkin puree is smooth. A quick blend will get rid of any lumps, leading to a creamy filling.
For consistent results, consider using a digital kitchen scale for precise measurements. This can truly elevate your baking game, and there are many helpful guides available online.
How to prevent cracking in your bars
Cracking can be a common woe when baking Pumpkin Pie Bars, but there are a few foolproof tricks. First, avoid overmixing your filling. This introduces air, leading to cracks as it bakes. Also, bake at a lower temperature, allowing a gentle rise. Finally, once they’re out of the oven, let them cool slowly in the pan to prevent sudden temperature changes. Trust me; these small adjustments can make a big difference!
For more tips on perfecting your pumpkin recipes, you might enjoy checking out resources from culinary experts like America’s Test Kitchen or Serious Eats.
Serving Suggestions for Pumpkin Pie Bars
Pairing with whipped cream and other toppings
One of the best ways to elevate your Pumpkin Pie Bars is by adding a dollop of freshly whipped cream on top. This not only adds a creamy texture but also compliments the spiced pumpkin flavor. For a twist, consider drizzling caramel sauce or chocolate syrup across the whipped cream for a touch of indulgence. You could even sprinkle some crushed graham crackers or pecans for added crunch.
Creative serving ideas for gatherings
When it comes to serving Pumpkin Pie Bars at gatherings, presentation is key. Try cutting the bars into fun shapes with cookie cutters for a festive flair. Arrange them on a rustic wooden platter and garnish with cinnamon sticks and fall leaves to create an inviting centerpiece. For beverages, serve with spiced apple cider or a cozy chai latte to round out the flavors of autumn. Want to impress your guests? Consider hosting a Pumpkin Pie Bars tasting alongside other seasonal desserts, letting everyone vote for their favorite treat.
These simple yet effective serving suggestions can enhance your gatherings and make every bite memorable! For more tips on flavors that pair beautifully with pumpkin, check out this article on Flavor Pairing in Baking.
Time Breakdown for Pumpkin Pie Bars
Preparation Time
Getting ready for your Pumpkin Pie Bars doesn’t take long at all! You’ll need about 15 minutes to gather your ingredients, whip up the crust, and prepare the delightful pumpkin filling. This is the perfect time to let your creativity spark—put on your favorite tunes and enjoy some pre-baking vibes.
Cooking Time
Once everything is prepped, you’ll spend approximately 25-30 minutes baking these bars to golden perfection. You’ll want to keep an eye on them in those last few minutes—smell that inviting aroma!
Total Time Required
In total, you’re looking at around 45-50 minutes from start to finish. That’s a small investment for a dessert that packs so much flavor. So, why not whip up a batch and impress your friends or family? Perfect for gatherings or cozy nights in! If you want to explore more baking options, check out this guide on baking essentials.
Nutritional Facts for Pumpkin Pie Bars
Caloric breakdown per serving
If you’re enjoying Pumpkin Pie Bars, knowing the caloric breakdown can help keep your meal planning in check. Each serving contains roughly 150–200 calories, depending on your specific recipe variations. This makes them a guiltless indulgence during those autumn gatherings or cozy nights in.
Key nutrients in pumpkin pie bars
These delightful bars aren’t just a treat for the taste buds but also pack a nutritional punch:
- Vitamin A: Essential for vision and immune function, pumpkin is rich in beta-carotene.
- Fiber: Aiding digestion, the fiber content can help keep you feeling full longer.
- Antioxidants: The spices and pumpkin offer protective benefits against oxidative stress.
Incorporating Pumpkin Pie Bars into your diet can be a smart choice, blending flavor with nutrition. For more insights into the benefits of pumpkin, check out Healthline’s article on the nutritional benefits of pumpkin.
FAQs about Pumpkin Pie Bars
How do I store Pumpkin Pie Bars properly?
To keep your Pumpkin Pie Bars fresh and delicious, storing them correctly is essential. First, allow the bars to cool completely in the baking dish. Once cooled, cover them with plastic wrap or foil. You can also transfer the bars to an airtight container, which will help maintain their moisture and flavor while storing. These treats can be stored in the refrigerator for up to a week. For longer storage, consider freezing them! Just wrap individual bars tightly in plastic wrap, then place them in a freezer-safe container. They’ll be good for about three months.
Can I make Pumpkin Pie Bars ahead of time?
Absolutely! Pumpkin Pie Bars are perfect for preparing in advance. You can make your bars a day or two ahead of time and store them in the refrigerator. In fact, many people find that the flavors develop even further when they have some time in the fridge. Just remember to cover them well to prevent them from absorbing any unwanted odors from your fridge.
What are some common mistakes to avoid?
While making Pumpkin Pie Bars can be a breeze, there are a few common pitfalls to steer clear of:
- Using too much filling: Ensure you’re following the recipe’s proportions closely for the best texture.
- Not letting them cool: Giving the bars ample time to cool helps them set properly and makes for easier slicing.
- Overbaking: Keep an eye on the timer; underbaked bars are gooey, but overbaked ones lose that perfect creamy texture.
By dodging these missteps, you can enjoy a delicious batch every time! For more tips on perfecting your baking, check out Epicurious.
As a personal tip, I often make these bars for gatherings and they’re always a hit! Try serving them with some whipped cream or a scoop of ice cream for that extra touch. Happy baking!
Conclusion on Pumpkin Pie Bars
The delightful experience of homemade Pumpkin Pie Bars
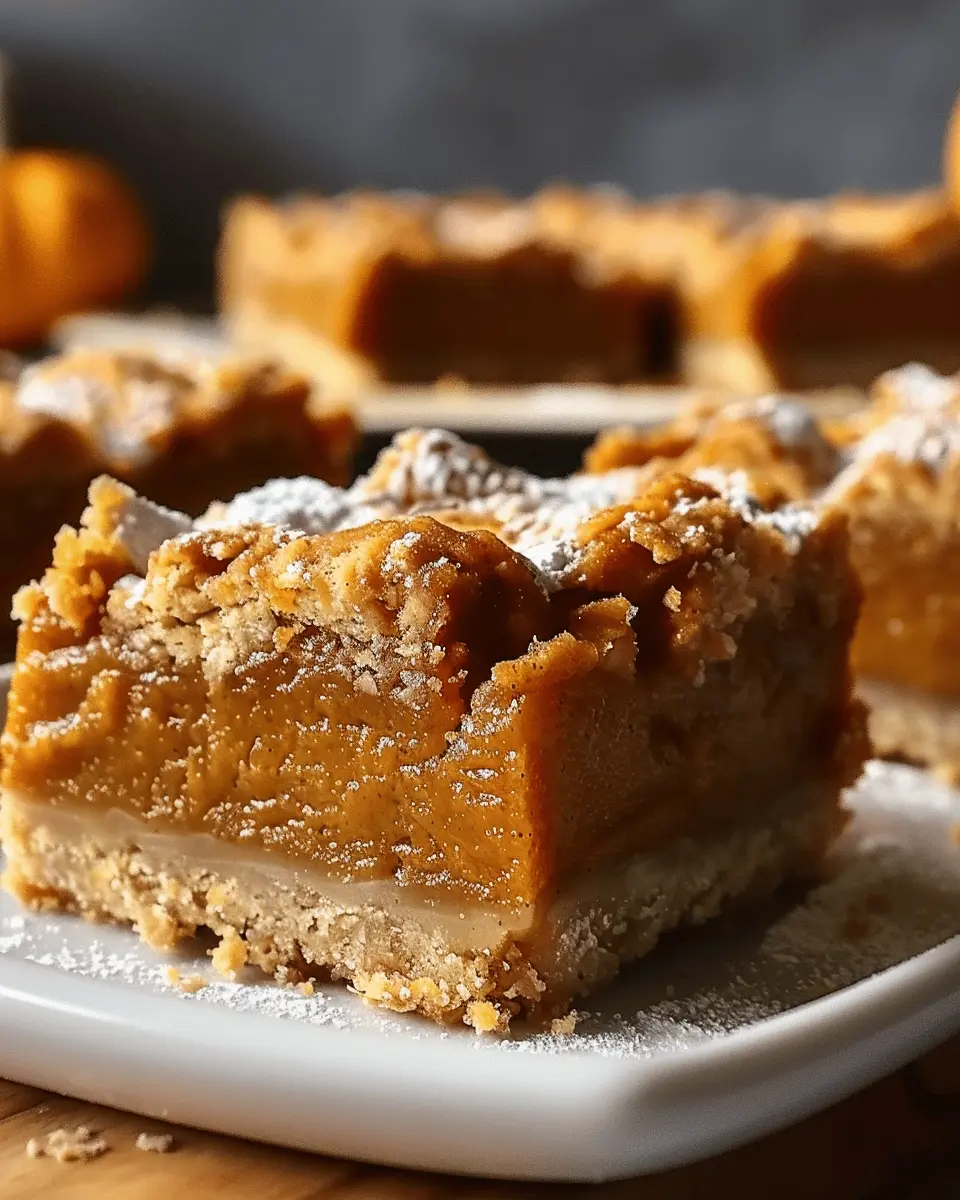
Making Pumpkin Pie Bars at home isn’t just about enjoying a seasonal treat; it’s truly a delightful experience. The sweet aroma of spices wafting through your kitchen is a reminder of cozy gatherings and warm memories. Each bar combines the creamy richness of pumpkin with a buttery crust, creating layers of flavor that dance on your palate.
Imagine serving these Pumpkin Pie Bars to friends, each bite evoking flavors of fall and sparking conversations about beloved family traditions. With their easy prep and perfect presentation, they make an ideal dessert for any occasion—psst, even for a weeknight snack!
For tips on perfecting your own Pumpkin Pie Bars, explore this guide from the Food Network for inspiration. Happy baking!
PrintPumpkin Pie Bars: Easy, Indulgent Treat for Fall Gatherings
- Prep Time: 20 minutes
- Cook Time: 35 minutes
- Total Time: 55 minutes
- Yield: 12 servings
- Category: Dessert
- Method: Baking
- Cuisine: American
- Diet: Vegetarian
Ingredients
- 2 cups all-purpose flour
- 1 cup brown sugar
- 1 teaspoon baking powder
- 1/2 teaspoon salt
- 1/2 cup unsalted butter, melted
- 1 can (15 oz) pumpkin puree
- 2 large eggs
- 1 cup granulated sugar
- 1 teaspoon vanilla extract
- 1 teaspoon ground cinnamon
- 1/2 teaspoon ground nutmeg
- 1/4 teaspoon ground ginger
- 1/2 cup heavy cream
Instructions
- Preheat the oven to 350°F (175°C).
- In a bowl, mix the flour, brown sugar, baking powder, and salt.
- Add the melted butter and mix until crumbly.
- Press the mixture into the bottom of a greased 9×13 inch pan.
- In another bowl, combine pumpkin puree, eggs, granulated sugar, vanilla, cinnamon, nutmeg, ginger, and heavy cream. Mix until smooth.
- Pour the pumpkin mixture over the crust.
- Bake for 30-35 minutes or until set.
- Let it cool before slicing into bars.
Notes
- Serve with whipped cream for extra indulgence.
- These bars are great for gatherings or fall parties.
Nutrition
- Serving Size: 1 bar
- Calories: 250
- Sugar: 15g
- Sodium: 150mg
- Fat: 10g
- Saturated Fat: 5g
- Unsaturated Fat: 4g
- Trans Fat: 0g
- Carbohydrates: 35g
- Fiber: 2g
- Protein: 3g
- Cholesterol: 45mg


")